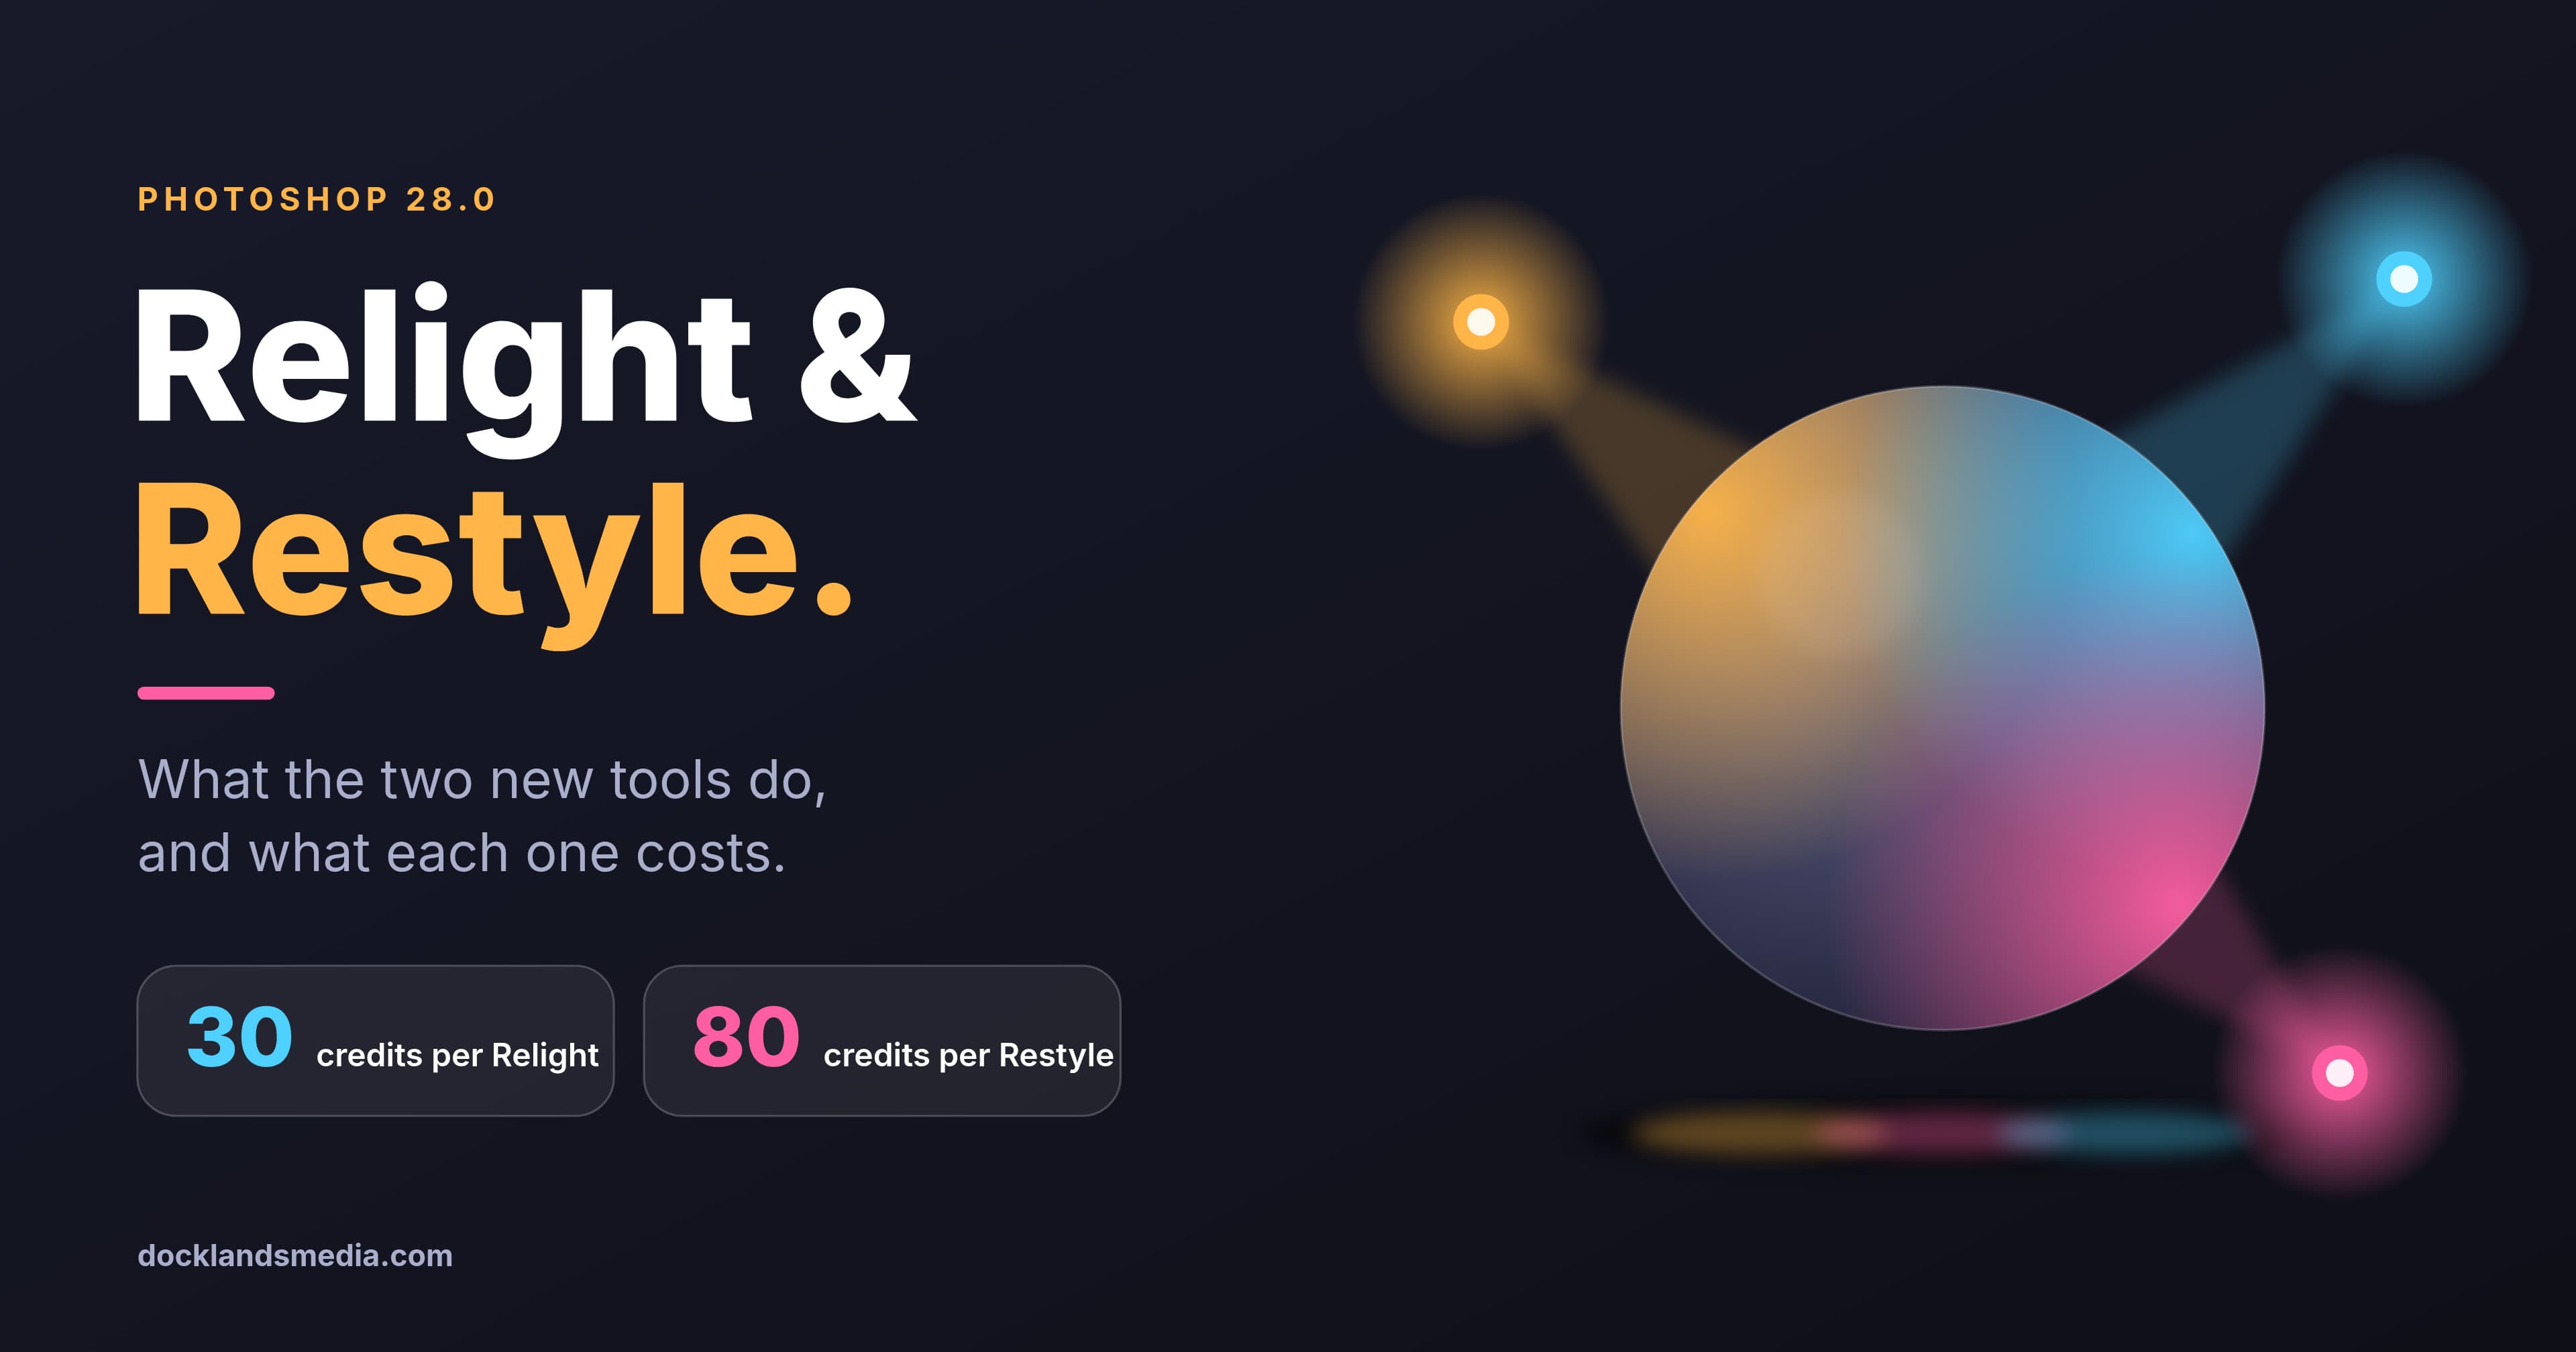
Thirty and eighty. Those are the two numbers worth knowing before you try Photoshop's newest lighting and look tools, because they are the generative credits each one spends when you commit. Everything before that point is free to play with.
Relight lets you add up to three virtual lights to a layer after the photo was taken, and Generative Restyle turns an AI edit into a layer with an adjustable strength slider. Both arrived in Photoshop 28.0 and are fully released, not beta. You need an active subscription, an internet connection and enough credits: 30 each time you press Done in Relight, and 80 to convert a result into a Generative Restyle layer.
What does Relight actually do?
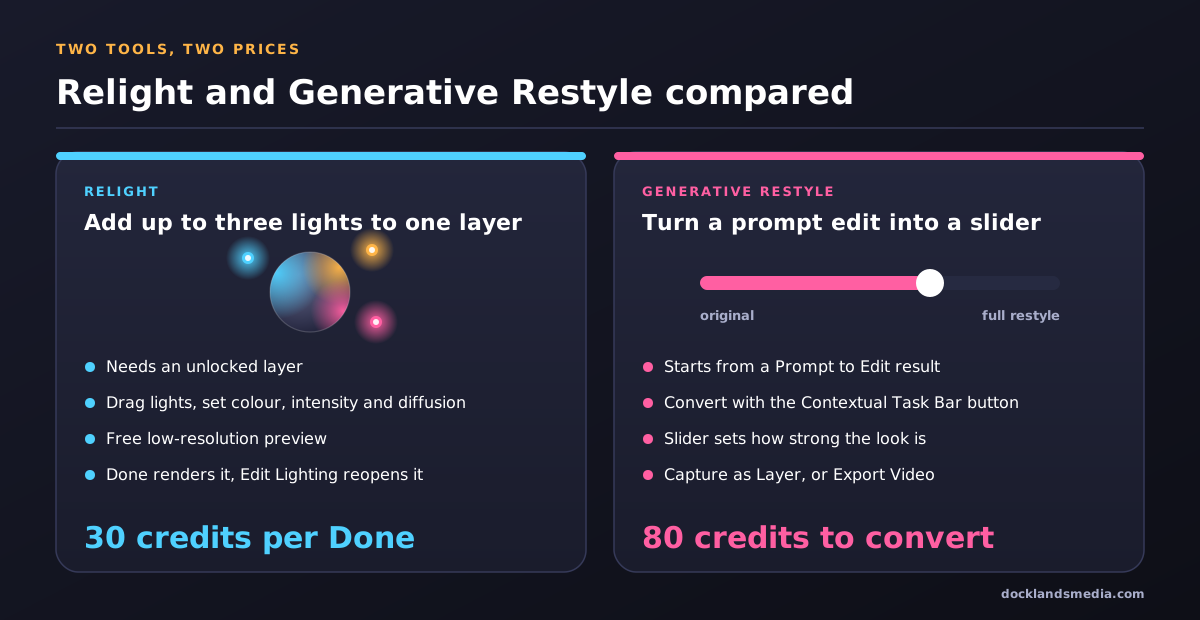
Pick an unlocked layer, choose Layer > New Relight Layer, and Photoshop drops a light onto it. Drag the light around the canvas, or use the sliders to move it left and right, up and down, and closer or further away. You can add up to three lights, and each one has its own colour temperature (anywhere from 100K to 10,000K), intensity and diffusion. The result lives on its own Relight layer, so your original pixels stay untouched underneath.
While you adjust, you are looking at a fast, low-resolution preview that costs nothing. Only when you press Done does Photoshop render the real result, and that is the moment 30 credits go. To change the lighting later, select the layer and choose Edit Lighting. Press Done again and the meter runs again.
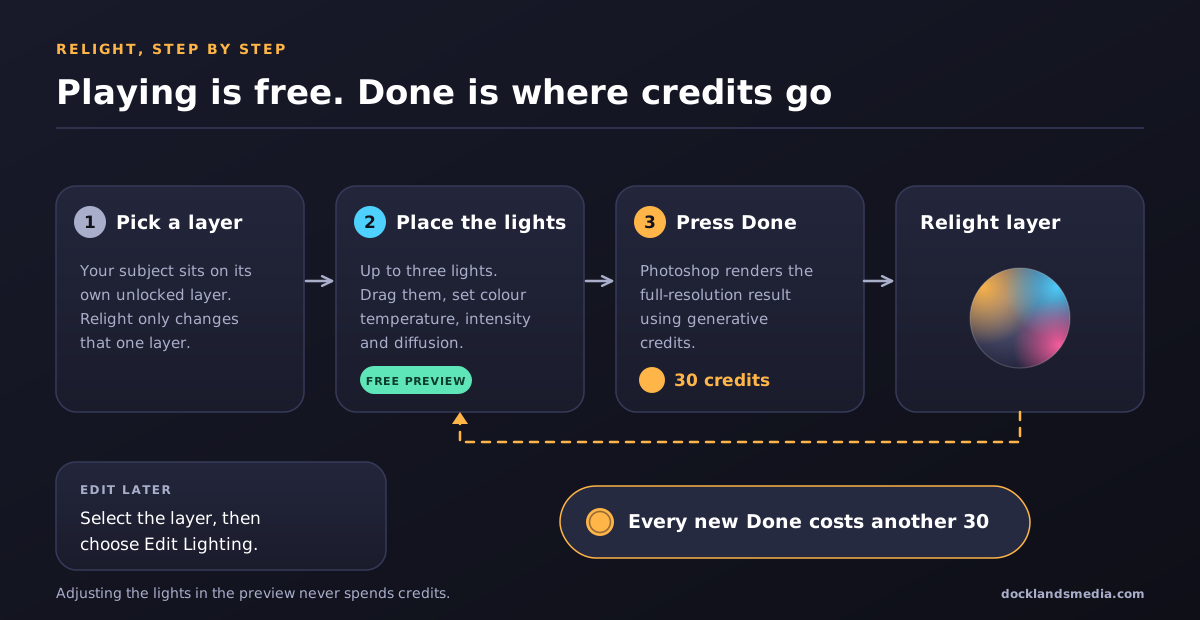
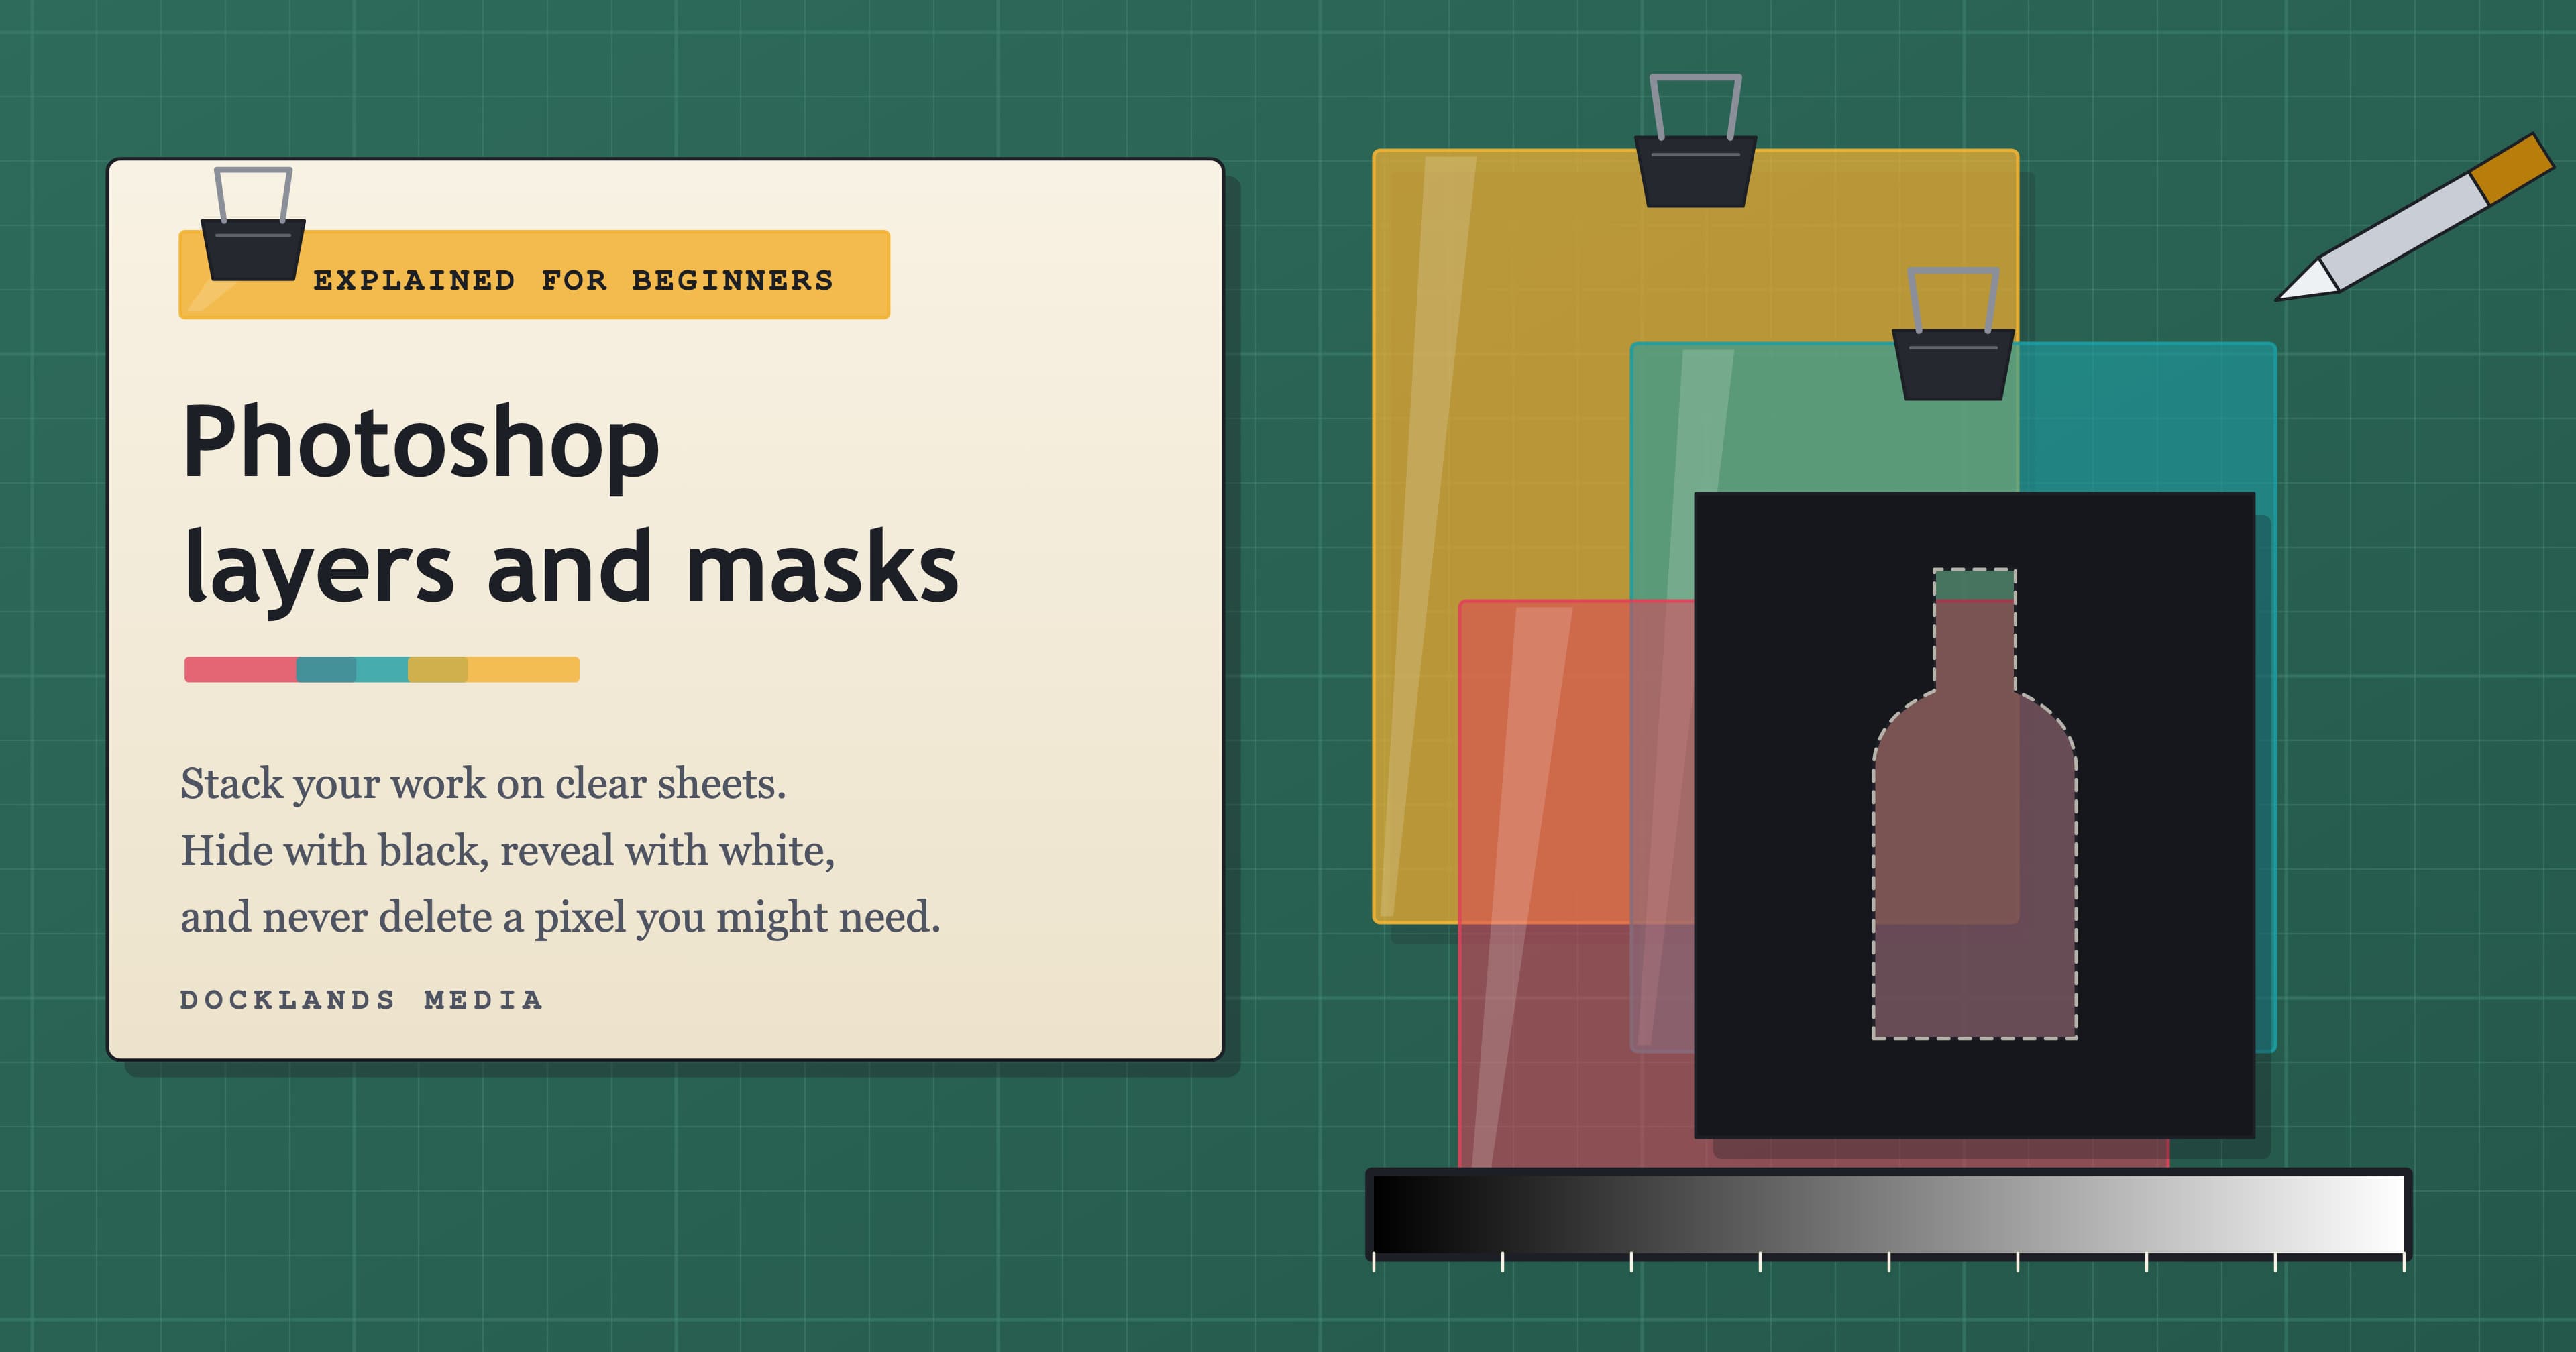
One detail catches people out: Relight only changes the layer you started from. If you apply it to the top layer of a composite, the background does not change. The tool rewards a tidy file in which the subject already sits on its own layer, which is a layers-and-masks skill, not an AI one. Our layers and masks guide covers that cutout step.
How does Generative Restyle work?
Restyle is a second step on top of something you have already generated. Select the whole image, describe a change in Prompt to Edit (for example "late golden light, softer greens") and generate it. When the result appears, choose Generative Restyle in the Contextual Task Bar. Photoshop converts the edit into a Generative Restyle layer for 80 credits and adds a slider to the Properties panel and the task bar.
That slider is the point of the tool. Instead of generating a stronger or weaker variation, you drag from barely there to full effect and stop where it looks right. When you are happy, choose Capture as Layer to keep the result, or Export Video to save the transition from original to restyled as a clip.
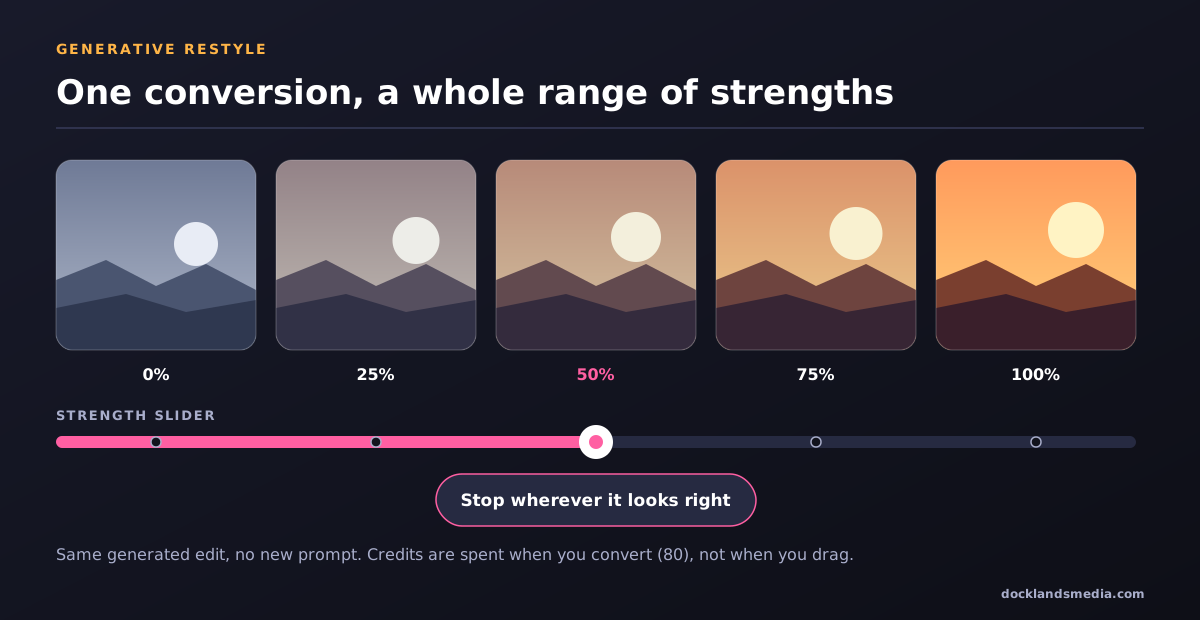
A word of caution from our own reading of how it works: because the edit is generated for the whole image, details you never mentioned can drift. Faces, small figures in the distance and any lettering are the usual casualties, and the generated layer is built at a lower resolution than a large photograph. Treat Restyle as a fast way to explore a mood, not as retouching. If a face matters, mask it back to the original.
What will a real job cost in credits?
Credits are easy to ignore until a client asks for round three. Here is a worked example, so you can see how quickly the totals move.
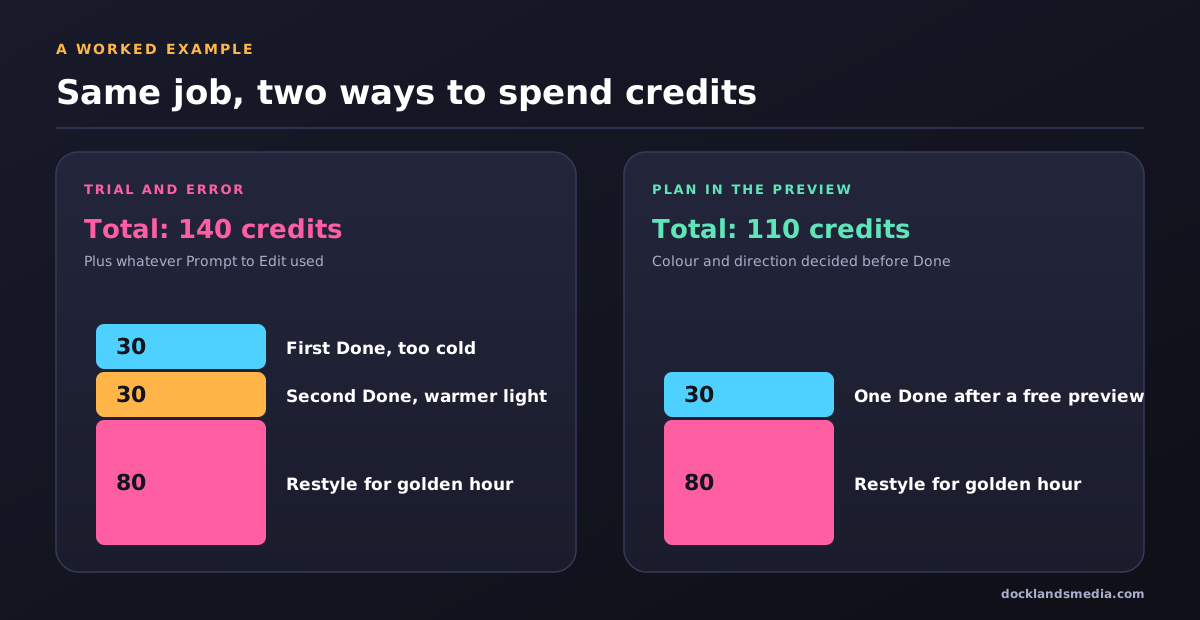
Say you are placing a cut-out product beside a window-lit interior. You set up two lights, press Done (30), decide it is too cold, warm it up and press Done again (30), then the client wants a golden-hour option, so you convert a Restyle (80) on top. That is 140 credits for one image, before whatever the Prompt to Edit step used. The same job planned properly, with the light direction and colour worked out in the free preview, one render and one Restyle, costs 110. The saving comes from deciding before you press Done, not from any trick.
Your plan's monthly allowance varies, and the counter sits behind the sparkle icon in the Contextual Task Bar and Properties panel, so check it before a big batch.
When should you light by hand instead?
This is our own judgement from teaching Photoshop, not a rule from anyone else. The credits are not the real cost of a generative tool; the real cost is control. These are the situations where we would reach for each route.
Situation | Best route | Why |
|---|---|---|
Subject in a composite is lit from the wrong side | Relight on the cut-out layer | Direction and warmth are the hard part to fake by hand |
Light direction is right and only the tone needs a nudge | Curves, Exposure layers, dodge and burn | Free, full resolution, no internet needed |
Client wants a few moods to choose from | Prompt to Edit, then Generative Restyle | One conversion gives a whole range on a slider |
Portraits, labels, small text, architectural lines | Manual edits, or mask Restyle back | Generated edits can alter details you meant to keep |
Large print or tight crop | Manual, or Relight blended carefully | Generated layers can look soft at 100% zoom |
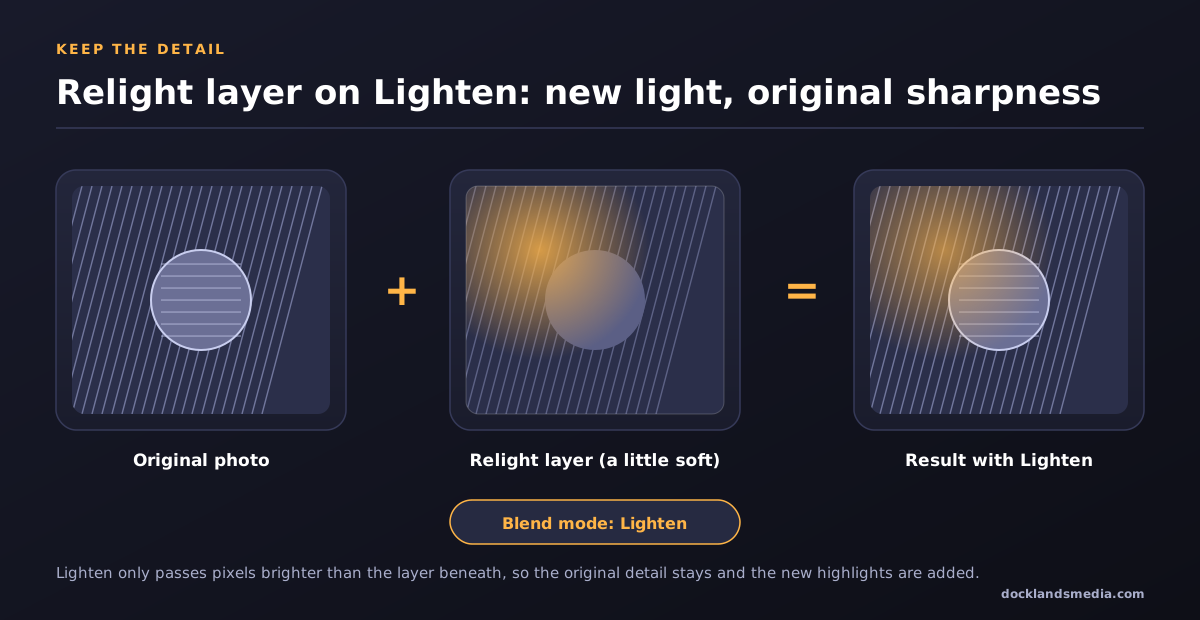
If you do use Relight on a high-resolution file, try this: set the Relight layer's blend mode to Lighten. Lighten only lets through pixels brighter than the ones beneath, so you keep the sharp detail of the original and take just the light that was added. It will not carry any darkening, so shadows still need a manual dodge-and-burn layer or a lower opacity.
Which Photoshop skills do these tools depend on?
Look at what each tool needs from you. Relight needs the subject isolated, which means selections and masks. Restyle needs a mask when you want to protect a face. Fixing a soft Relight result needs blend modes. Adding shadows needs adjustment layers and clipping. None of these new buttons removes the need for them; they make the foundations count for more, because a generative result is only as good as the file it starts from.
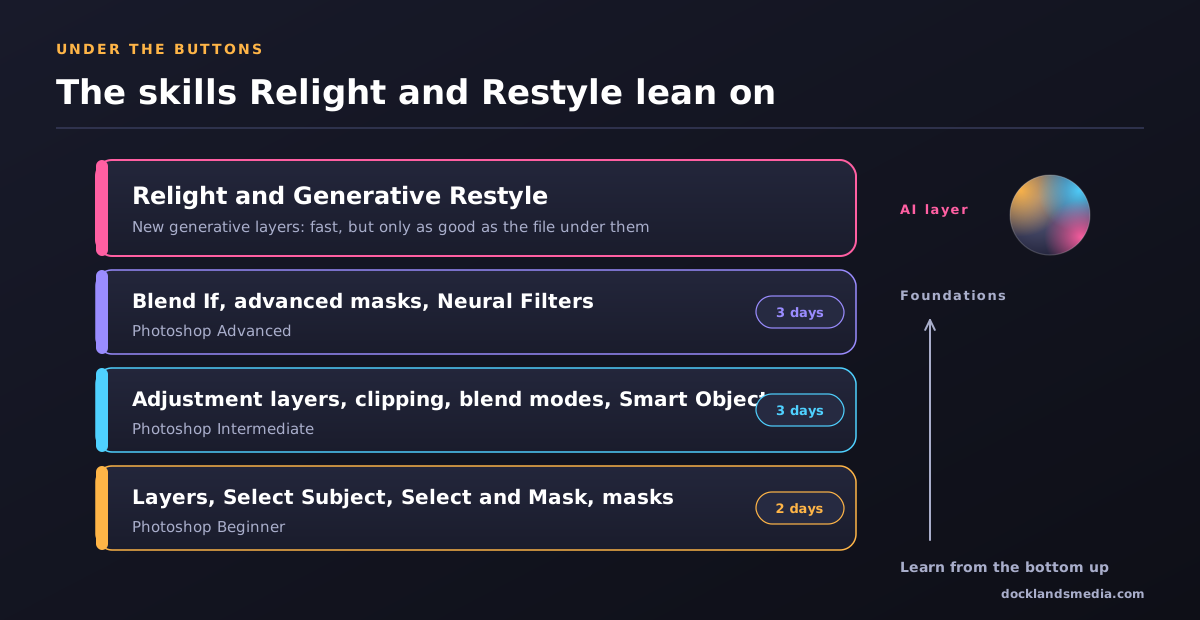
That is the thinking behind how we teach it. The two-day Photoshop Beginner course (£395 + VAT in person, £335 + VAT online) covers layers, Select Subject, Object Selection, Select and Mask and non-destructive masks. The three-day Intermediate course adds adjustment layers, clipping masks, Smart Objects and blending, and the three-day Advanced course goes into Blend If, advanced masking and Neural Filters, including Landscape Mixer for changing season and time of day. Intermediate and Advanced are £595 + VAT in person or £505 + VAT online.
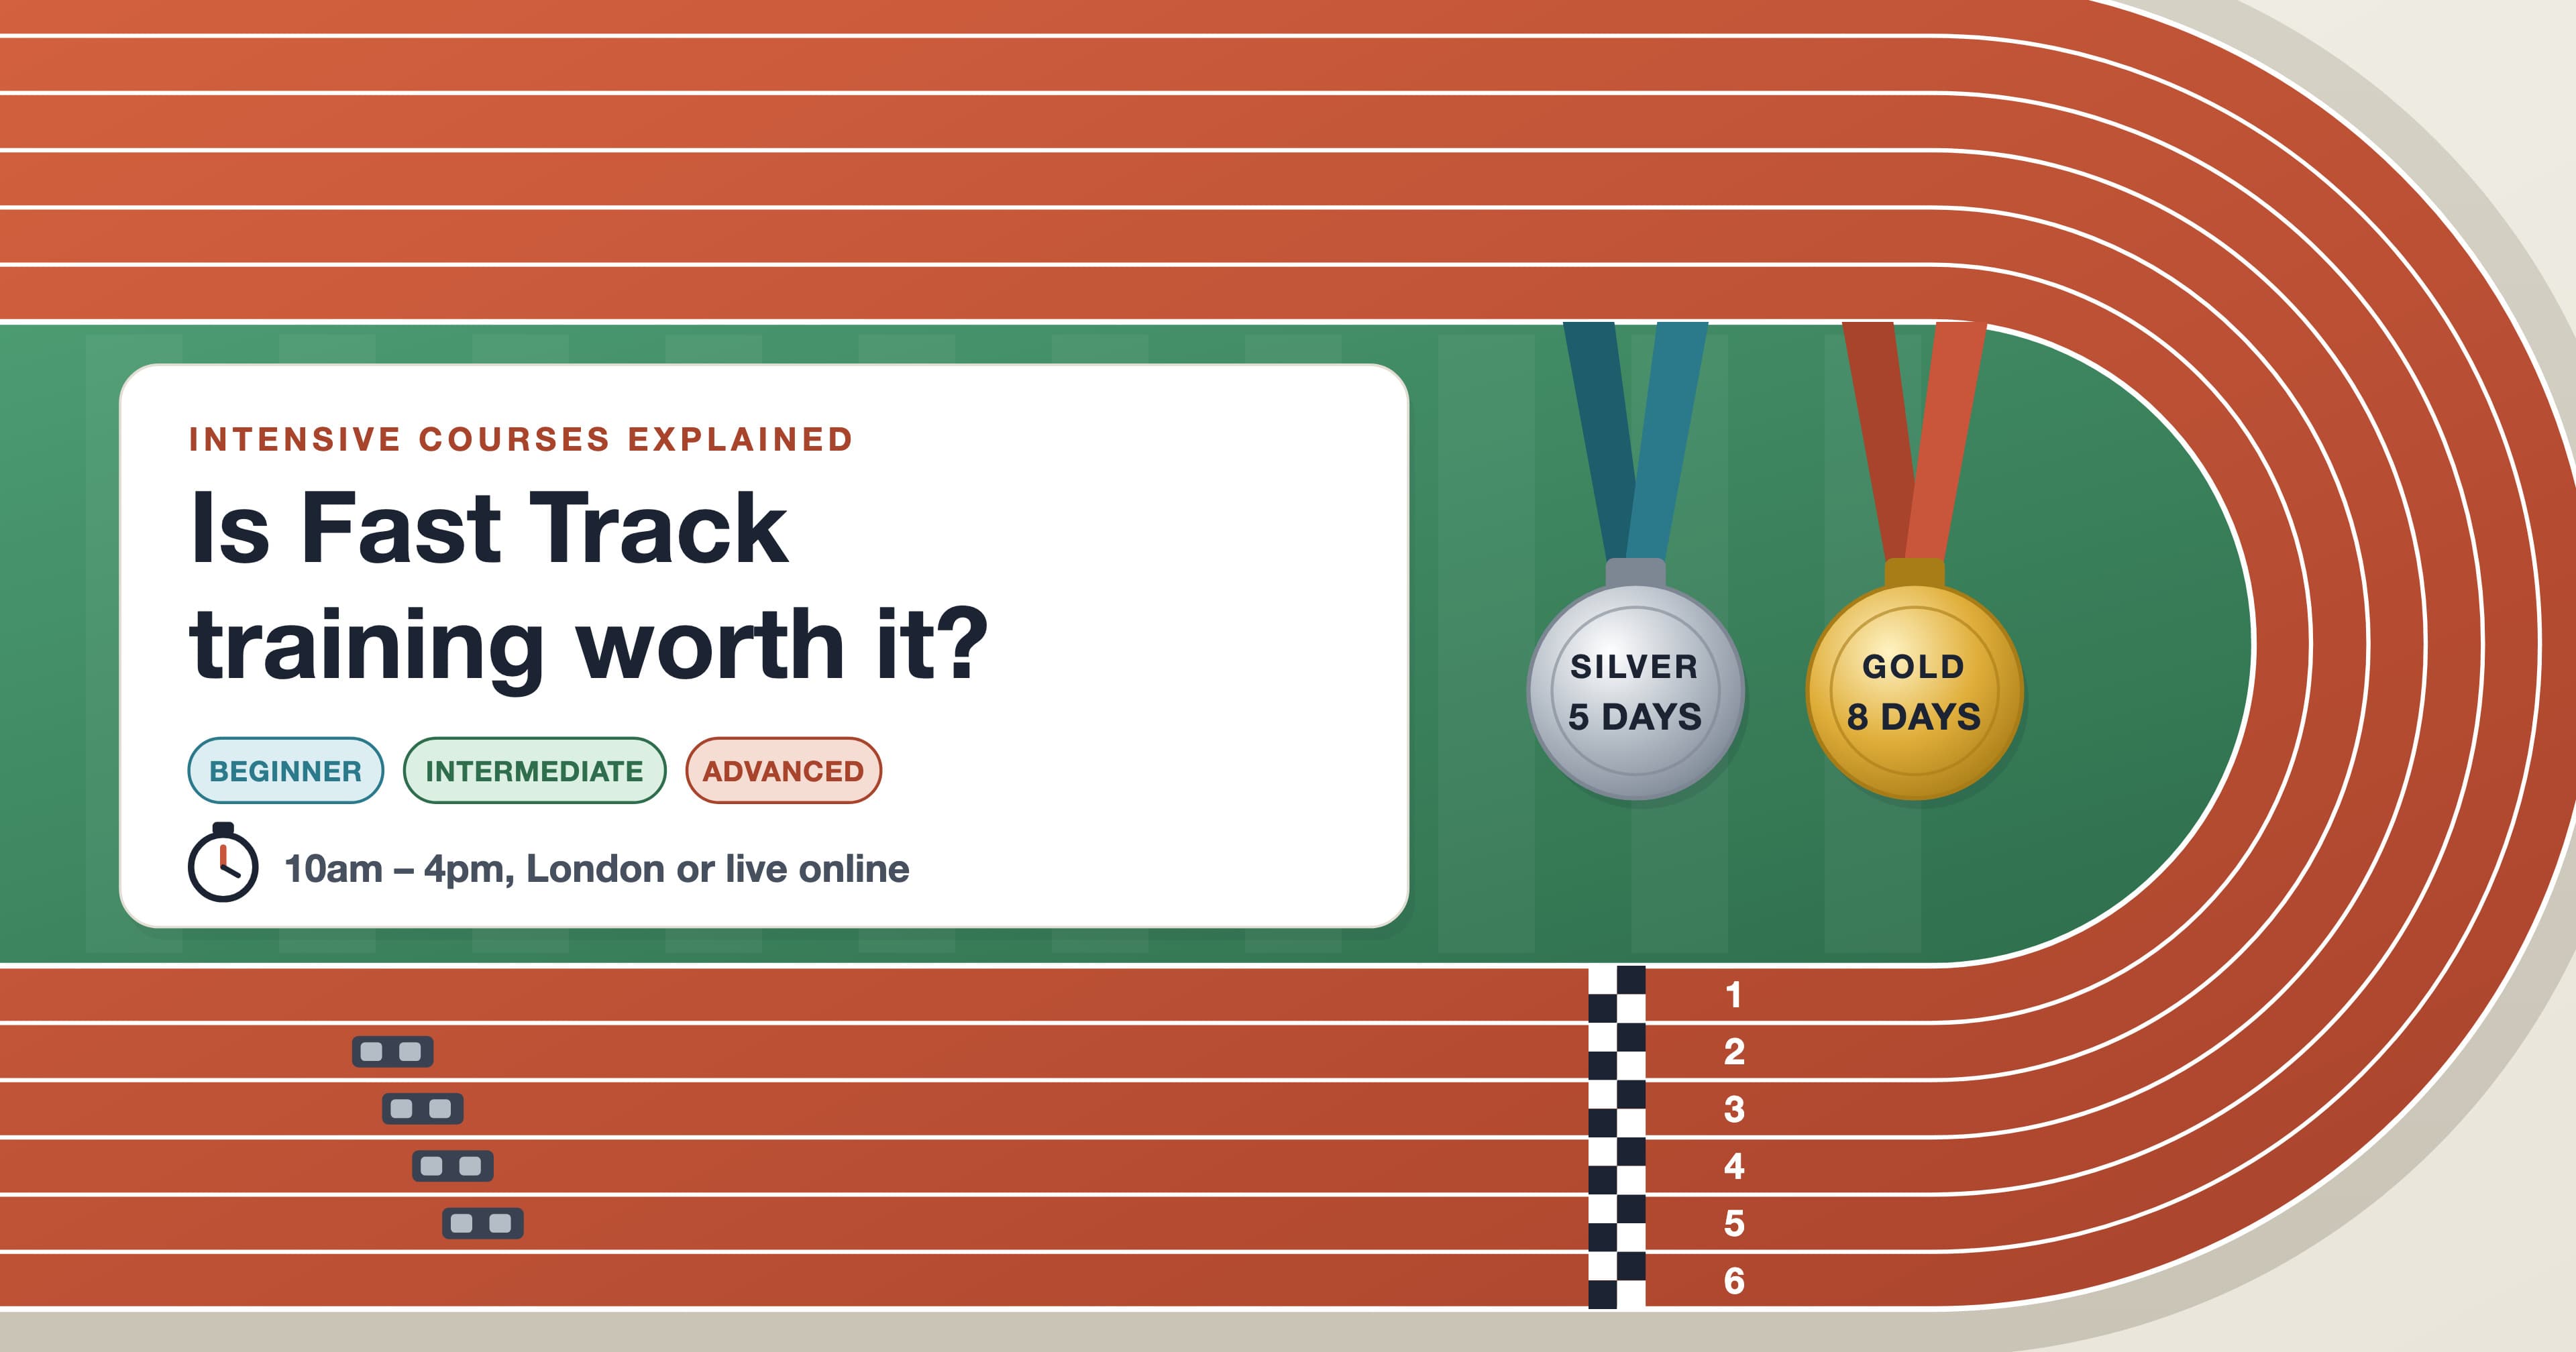
If you are starting from scratch, the five-day Photoshop Fast Track Silver (£895 + VAT in person, £765 + VAT online) combines Beginner and Intermediate. The Beginner days run back to back, and the Intermediate days can follow in the same week or a later one. Every course includes a certificate of completion, and Fast Track Silver prepares you to take and pass the Adobe Certified Professional exam at the end of the course (the exam fee is £175 + VAT). Docklands Media is authorised by Adobe, so you are learning on the same Creative Cloud apps you will use at work.
What else arrived with Photoshop 28.0?
Relight and Restyle got the headlines, but several smaller additions are worth a look:
Remove Tool with related elements. Removing an object can take its shadow, reflection or smoke with it, so you stop painting those out separately.
Quick Compare. View your edit against the original in split-screen or single-view modes, instead of toggling layer visibility.
AI Assisted Editor. A simpler, prompt-led way to edit, with the full toolset still available behind it.
Prompt to Edit and Generative Upscale. The first feeds Restyle; the second raises resolution and detail on a result that came out soft.
If you want the wider picture of what AI can and cannot do in Photoshop, read our guide to using Photoshop AI. For how Adobe's agents may soon drive the same app from outside, see Adobe MCP for Creative Cloud.
The practical takeaway: learn to see light first. If you can spot where a shadow should fall and why a highlight looks wrong, Relight becomes a quick way to test your idea. If you cannot, it becomes a way to spend 30 credits on a guess. A tailored Photoshop course can focus entirely on compositing and lighting, if that is your goal.