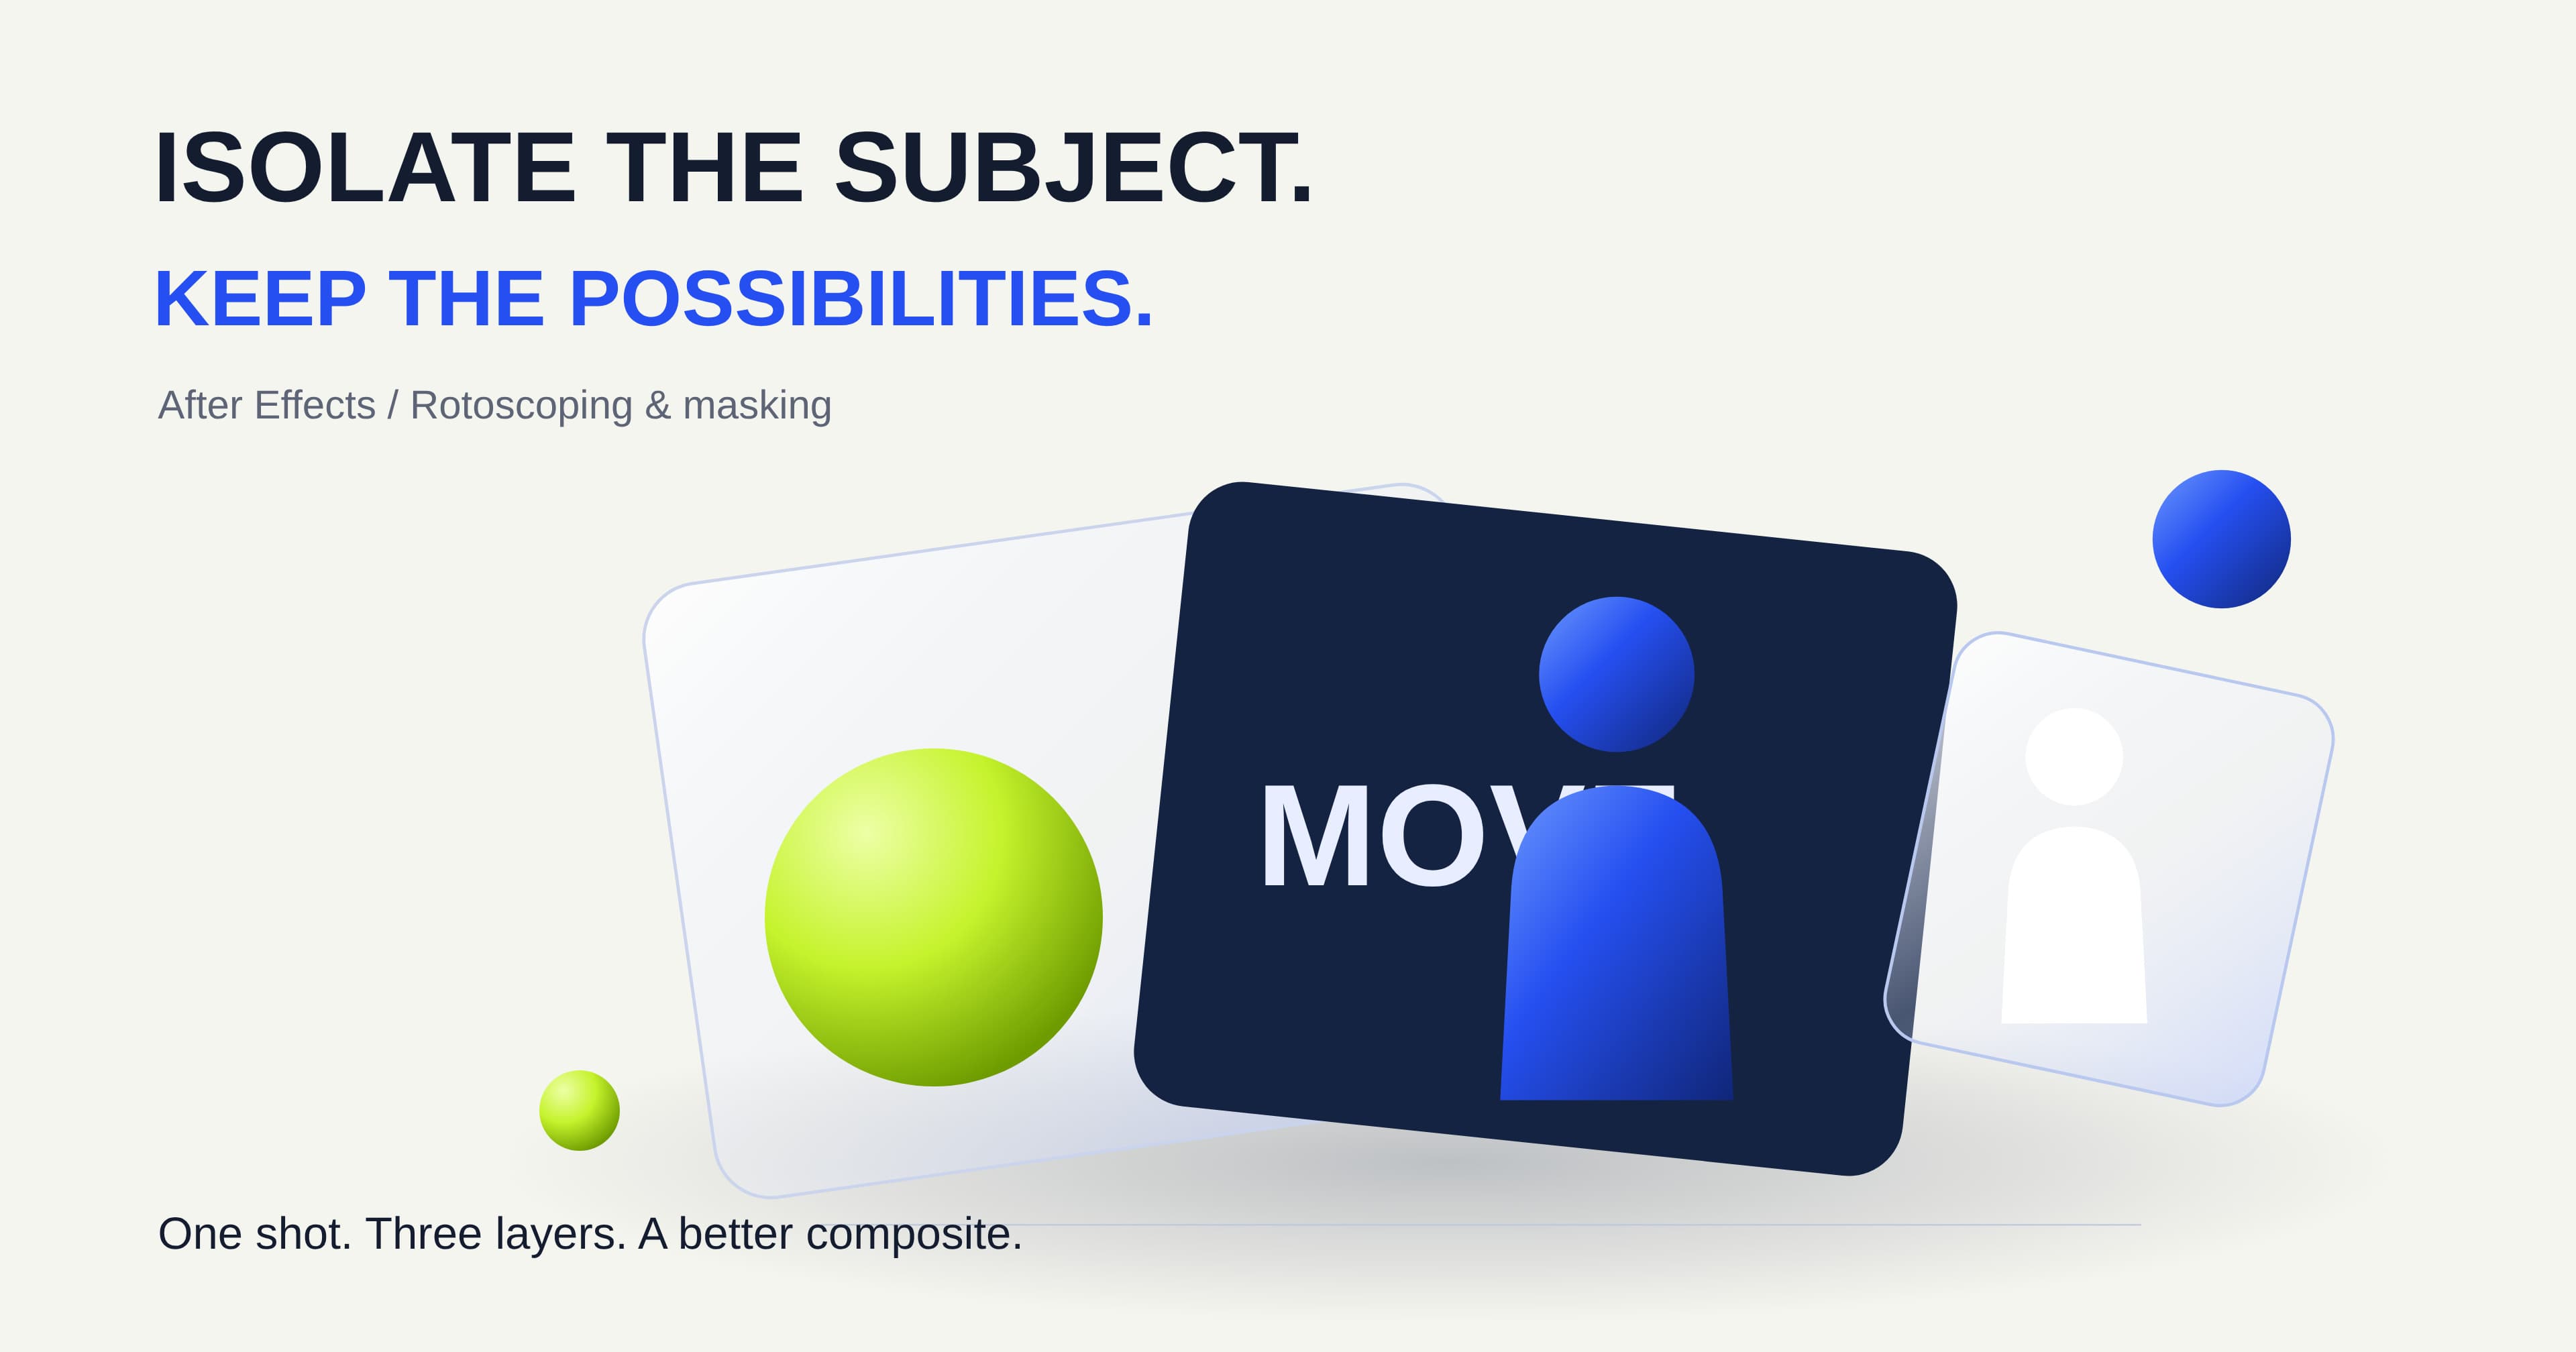
A title slides across the screen. Halfway through the word, the presenter turns, and the letters disappear behind her shoulder. The room has not changed. There is no green screen. What sells the effect is a clean separation between the person and everything behind them.
That separation is a matte. In After Effects, you can build it with a drawn mask, a brush-led rotoscoping workflow or Object Matte, which uses AI-assisted subject selection and carries the result through the shot. The useful skill is knowing which approach gives you the most controllable edge—not simply getting a selection on the first frame.
Here we will put a title behind a presenter, choose the right isolation tool and repair the sorts of edge problems that make a composite look unfinished.
What is rotoscoping, and how is it different from masking?
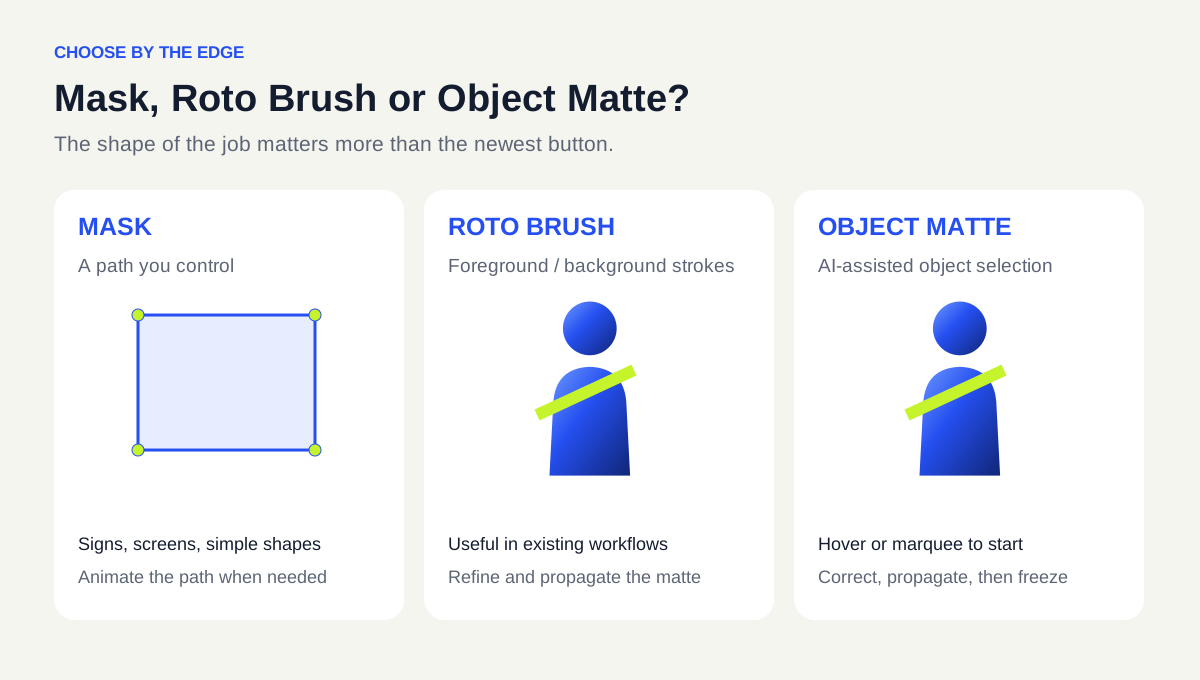
Rotoscoping means isolating an element as it moves through footage. A mask is one way to do that: draw a path around the element and animate the path as its outline changes. Roto Brush and Object Matte take another route, using image analysis to build a foreground selection and propagate it across frames.
A matte describes visibility. In an alpha view, white is visible, black is transparent and grey is partly transparent. That grey is important. A strand of hair, a soft focus edge or a moving hand does not always belong in a perfectly hard, white cut-out.
A track matte is a related compositing arrangement: one layer controls the visibility of another. It is not another name for Object Matte. Object Matte creates the subject isolation; you then decide how that isolated layer belongs in the composition.
Is Object Matte available in the normal After Effects app?
Yes. Object Matte is a released After Effects feature, not a beta-only tool. It is available from version 26.2. If your installed copy still presents the older Roto Brush workflow, check the version before looking for the new toolbar icon.
Object Matte brings together four tools:
Object Matte Tool: hover over a subject to preview a selection, then click to apply it. Rectangle and Lasso selection are also available.
Quick Selection Tool: the brush-led successor to the classic Roto Brush, selecting areas using their colour, contrast and edges.
Selection Brush Tool: additive and subtractive strokes for more deliberate corrections.
Refine Edge Tool: local treatment for intricate boundaries such as hair.
Object Matte does not generate a replacement person or invent a new background. It identifies which parts of the existing footage should remain visible. You still build the title, arrange the layers and judge whether the result holds together.
When should you use a mask instead of Object Matte?
Our starting rule is simple: use a path for a predictable shape; use subject isolation for a changing silhouette. A rectangle around a static display needs very little interpretation. A person turning their head while lifting a hand is a different job.
The job | Start with | Why | What to watch |
|---|---|---|---|
Reveal a title through a fixed rectangular window | A drawn mask | The boundary is simple and deliberate | Select the intended layer before drawing, or you may create a shape layer instead |
Keep a presenter in front of animated type | Object Matte | The silhouette changes throughout the shot | Hair, hands and spaces between limbs |
Continue an existing brush-led roto project | Its Roto Brush workflow, or Quick Selection in the newer toolset | You can guide foreground and background selection directly | Review propagation after each correction |
Isolate a cleanly lit green-screen subject | A keying workflow | The background colour was designed to be removed | Spill, shadows and fine edges |
Exclude a simple unwanted region around a subject | A rough mask, with subject isolation where needed | Different boundaries can use different methods | Keep the rough mask safely outside the detail you want |
Do not draw fifty extra mask points just because the tool allows it. Every point is another piece of the outline to manage. Equally, do not ask AI to solve a static four-cornered boundary that you can draw cleanly yourself.
How do you use Object Matte step by step?
Start with a short shot that has a readable subject and a reasonably clear outline. Work on the part of the take you actually intend to use, rather than analysing a long recording before the edit is settled.
Build the composition. Import the footage, create a composition from it and add the clip to the timeline. Keep its timing and frame rate consistent while you work on the matte.
Open the footage in the Layer panel. Double-click the footage layer in the timeline. Subject selection happens here, not by drawing over the finished Composition view.
Choose a useful base frame. Find a frame where the outline is readable. Avoid starting on a moment when the hand covers the face or the subject is almost entirely behind something else.
Select the subject. Choose the Object Matte Tool, hover to preview the subject and click to apply the selection. Use Rectangle or Lasso selection when that gives a better starting area.
Correct that frame. Use Quick Selection or Selection Brush to add missing areas or subtract background. Look inside the silhouette as well as around it: the opening under an arm should not become part of the person.
Propagate and inspect. Move through the timeline to extend the matte across the shot. Green timeline segments show propagated frames. Review the range on both sides of your base frame, paying particular attention to turns, entrances and overlaps.
Refine and freeze. Repair problem frames, use Refine Edge where fine detail needs it, and inspect the Object Matte settings in Effect Controls. Once the whole required range is reviewed, select Freeze at the bottom of the Layer panel, then return to the Composition panel.
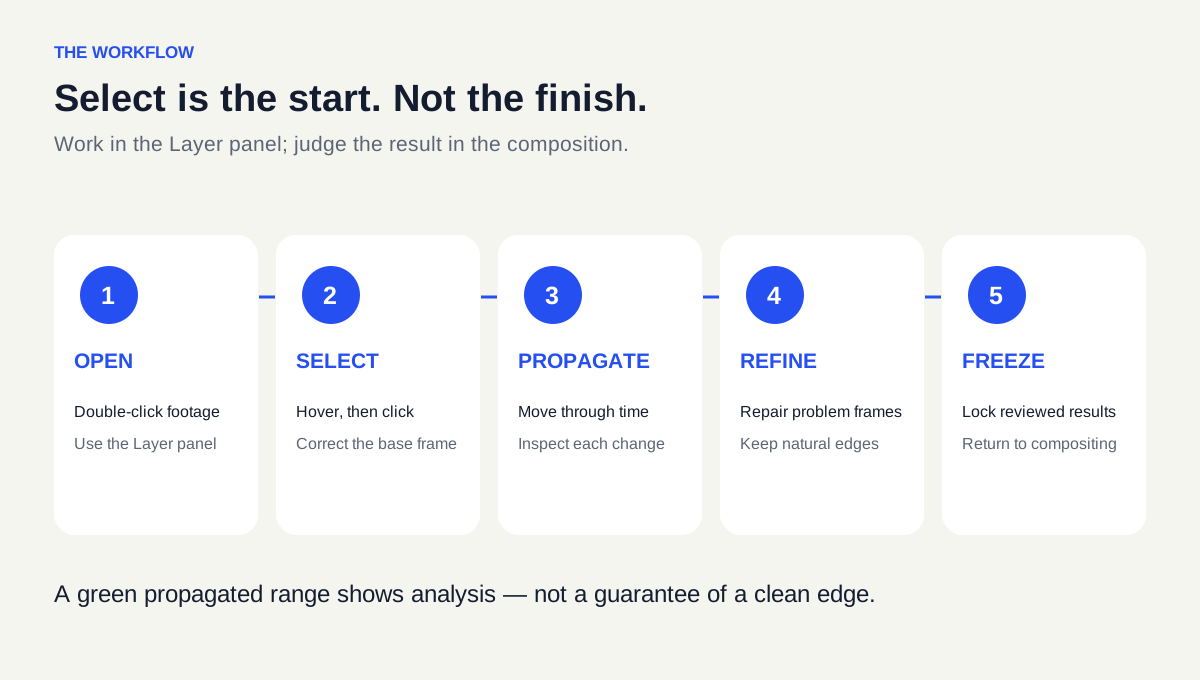
We would rather see a carefully checked short range than a long green bar nobody has watched. Propagated means analysed; it does not mean approved. If you change the selection after freezing, unfreeze, make the correction, review the affected range and freeze again.
Worked example: how do you put text behind a person?
Imagine a six-second studio promo. A presenter stands in front of a plain wall, turns slightly and raises a hand. The word “MOVE” should travel behind her while the original room remains visible.
This is a layer-order problem with one piece of subject isolation. It does not need a background replacement.
Keep the original footage at the bottom. This supplies the complete room and the original presenter.
Add the title above it. Animate the word into position. Judge the movement before spending time polishing the matte.
Duplicate the footage and put that copy at the top. Keep both footage layers aligned in time and position.
Isolate the presenter on the upper copy. Use the Object Matte workflow above. The upper layer now covers the title wherever the presenter is visible.
Review the overlap. Check the shoulder first, then the raised hand, hair and gap beneath the arm. These are the places where the text will expose a weak matte.
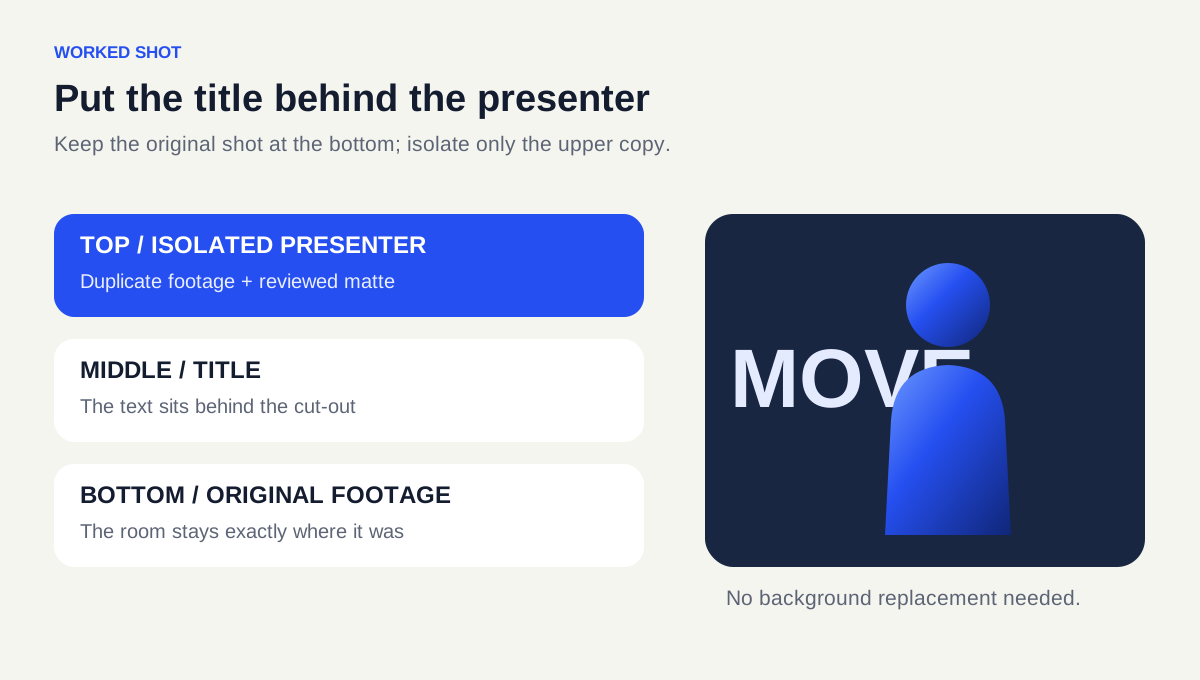
The important production decision is where the overlap happens. If the title only passes behind a solid shoulder, that is the critical edge. If it passes through loose hair and between moving fingers, the shot demands much more precise work. Choose the title position for the composition first, then give the visible overlap the attention it needs.
Keep the layers editable. If the client asks for smaller type, a different word or a slower entrance, you should be changing the title—not rebuilding a flattened video.
How do you get cleaner hair and motion-blurred edges?
A clean matte is not necessarily a sharp matte. A hard cut around soft hair can look worse than a slightly imperfect selection that preserves the original softness.
Use Refine Edge locally along the boundary that needs it. Do not paint across the whole body as a general improvement pass. Look at the alpha view to see what the matte contains, then look at the composite to judge whether the edge belongs in the shot.
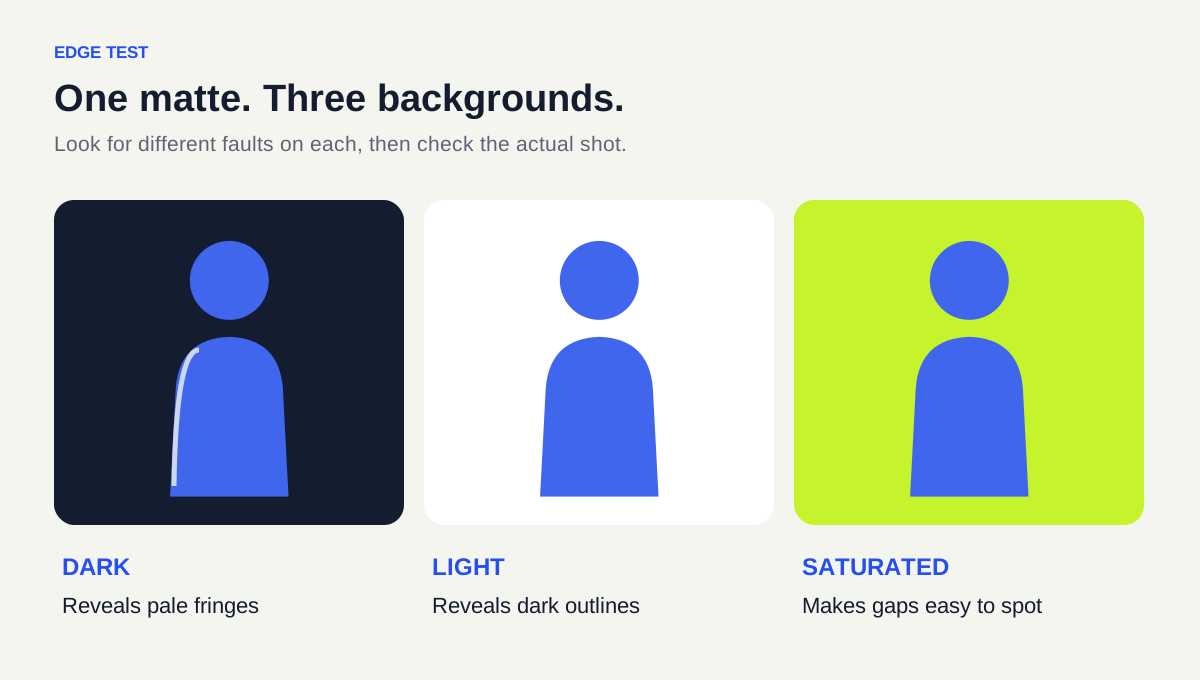
Temporarily test the isolated layer over a dark solid, a light solid and a saturated colour. A pale fringe that disappears on white can be obvious on dark blue. Then remove those test layers and judge the real composite at its intended viewing size.
Avoid using generous feathering to hide an incorrect selection. Feather softens the boundary you have; it does not recover a missing finger. Correct the shape first, then tune the edge.
Why does the selection fall apart halfway through the shot?
Fast movement, similar foreground and background colours, motion blur and objects crossing the subject all make isolation harder. The most useful response is to find the first frame where the selection goes wrong, rather than trying to repair the last frame of a long drift.
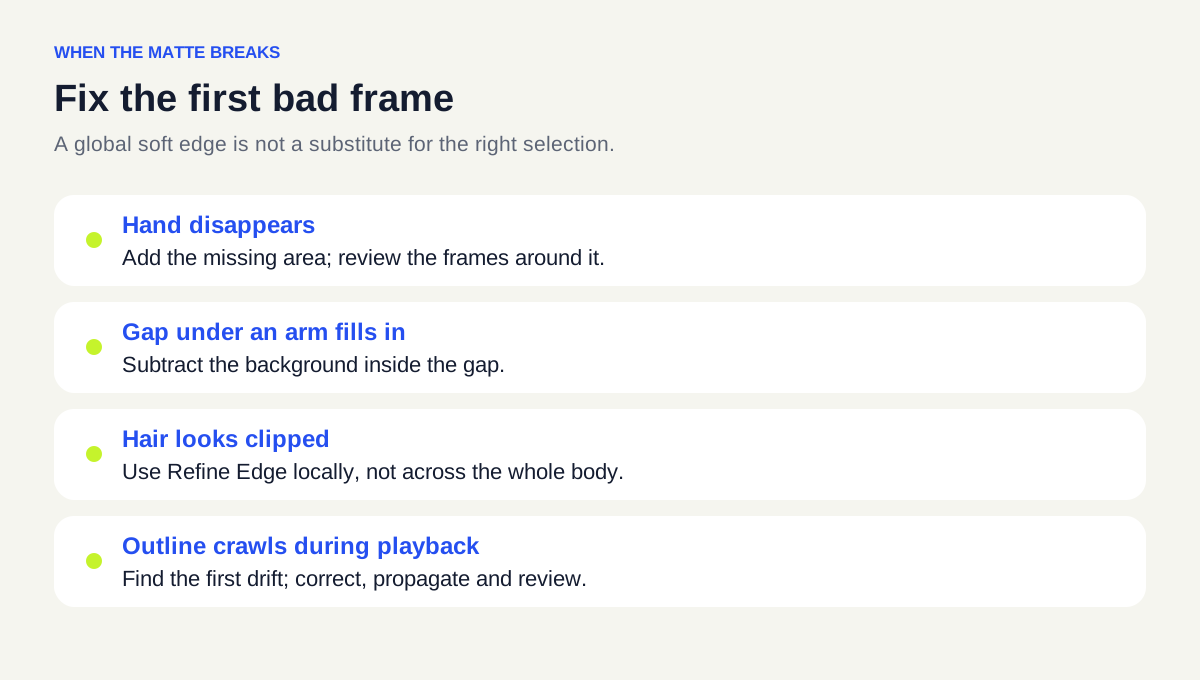
A hand disappears: add it back on the problem frame, then inspect the surrounding movement.
A gap fills in: subtract the background between the arm and torso. Small internal holes matter when bright type passes behind them.
The edge flickers: watch the range slowly and correct the earliest unstable section. Do not judge temporal consistency from one still.
An object crosses in front: decide whether it should belong in the foreground treatment. For a complicated overlap, separate the shot into more manageable sections or use additional layers and masks.
The cut-out looks detached: inspect edge softness and colour contamination, then check layer alignment. Two copies of the same clip must not be a frame apart.
Our rule is to separate selection errors from compositing errors. A missing sleeve needs a selection correction. Type that feels stuck to the presenter may need a different position or animation. Blurring the matte will not solve both.
What should you check before rendering?
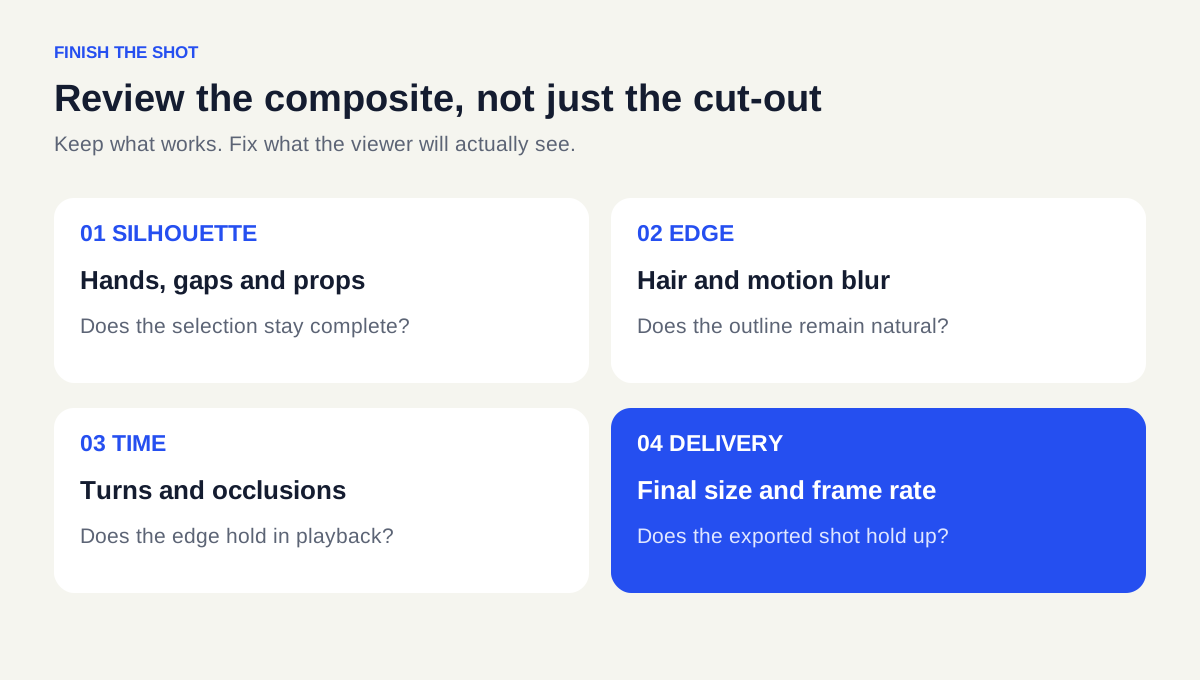
Make four passes: the silhouette, the edge, the movement and the delivery. Check hands and held objects, then soft details, then the whole shot in playback. Finally render a short test at the delivery size and frame rate. A frozen matte locks the result you reviewed; it does not replace that review.
For the presenter example, the finish line is not “the person has been cut out”. It is “the title can move behind the person without the viewer noticing the separation”.
Which After Effects course covers these skills?
If layers, keyframes and compositions are still new, start with our two-day After Effects Beginner course. Those foundations make it much easier to understand why a matte behaves as it does.
Our three-day After Effects Intermediate course includes rotoscoping and object isolation techniques, alongside compositing, more advanced animation, expressions and 3D layers. It is the relevant next step if you can already build a simple animation and want more control inside the shot.
For a joined-up route, After Effects Fast Track Silver combines Beginner and Intermediate over five days. After Effects Fast Track Gold adds the Advanced level for eight days. Each level is a consecutive block; you can take the levels together or choose a later block for the next level.
Docklands Media is authorised by Adobe. Training is available at our London centre or live online, with a certificate of completion. The Fast Track options also prepare you for the Adobe Certified Professional exam, which you can add when booking. Bring the same mindset to practice: build a complete shot, keep it editable and be able to explain every layer.