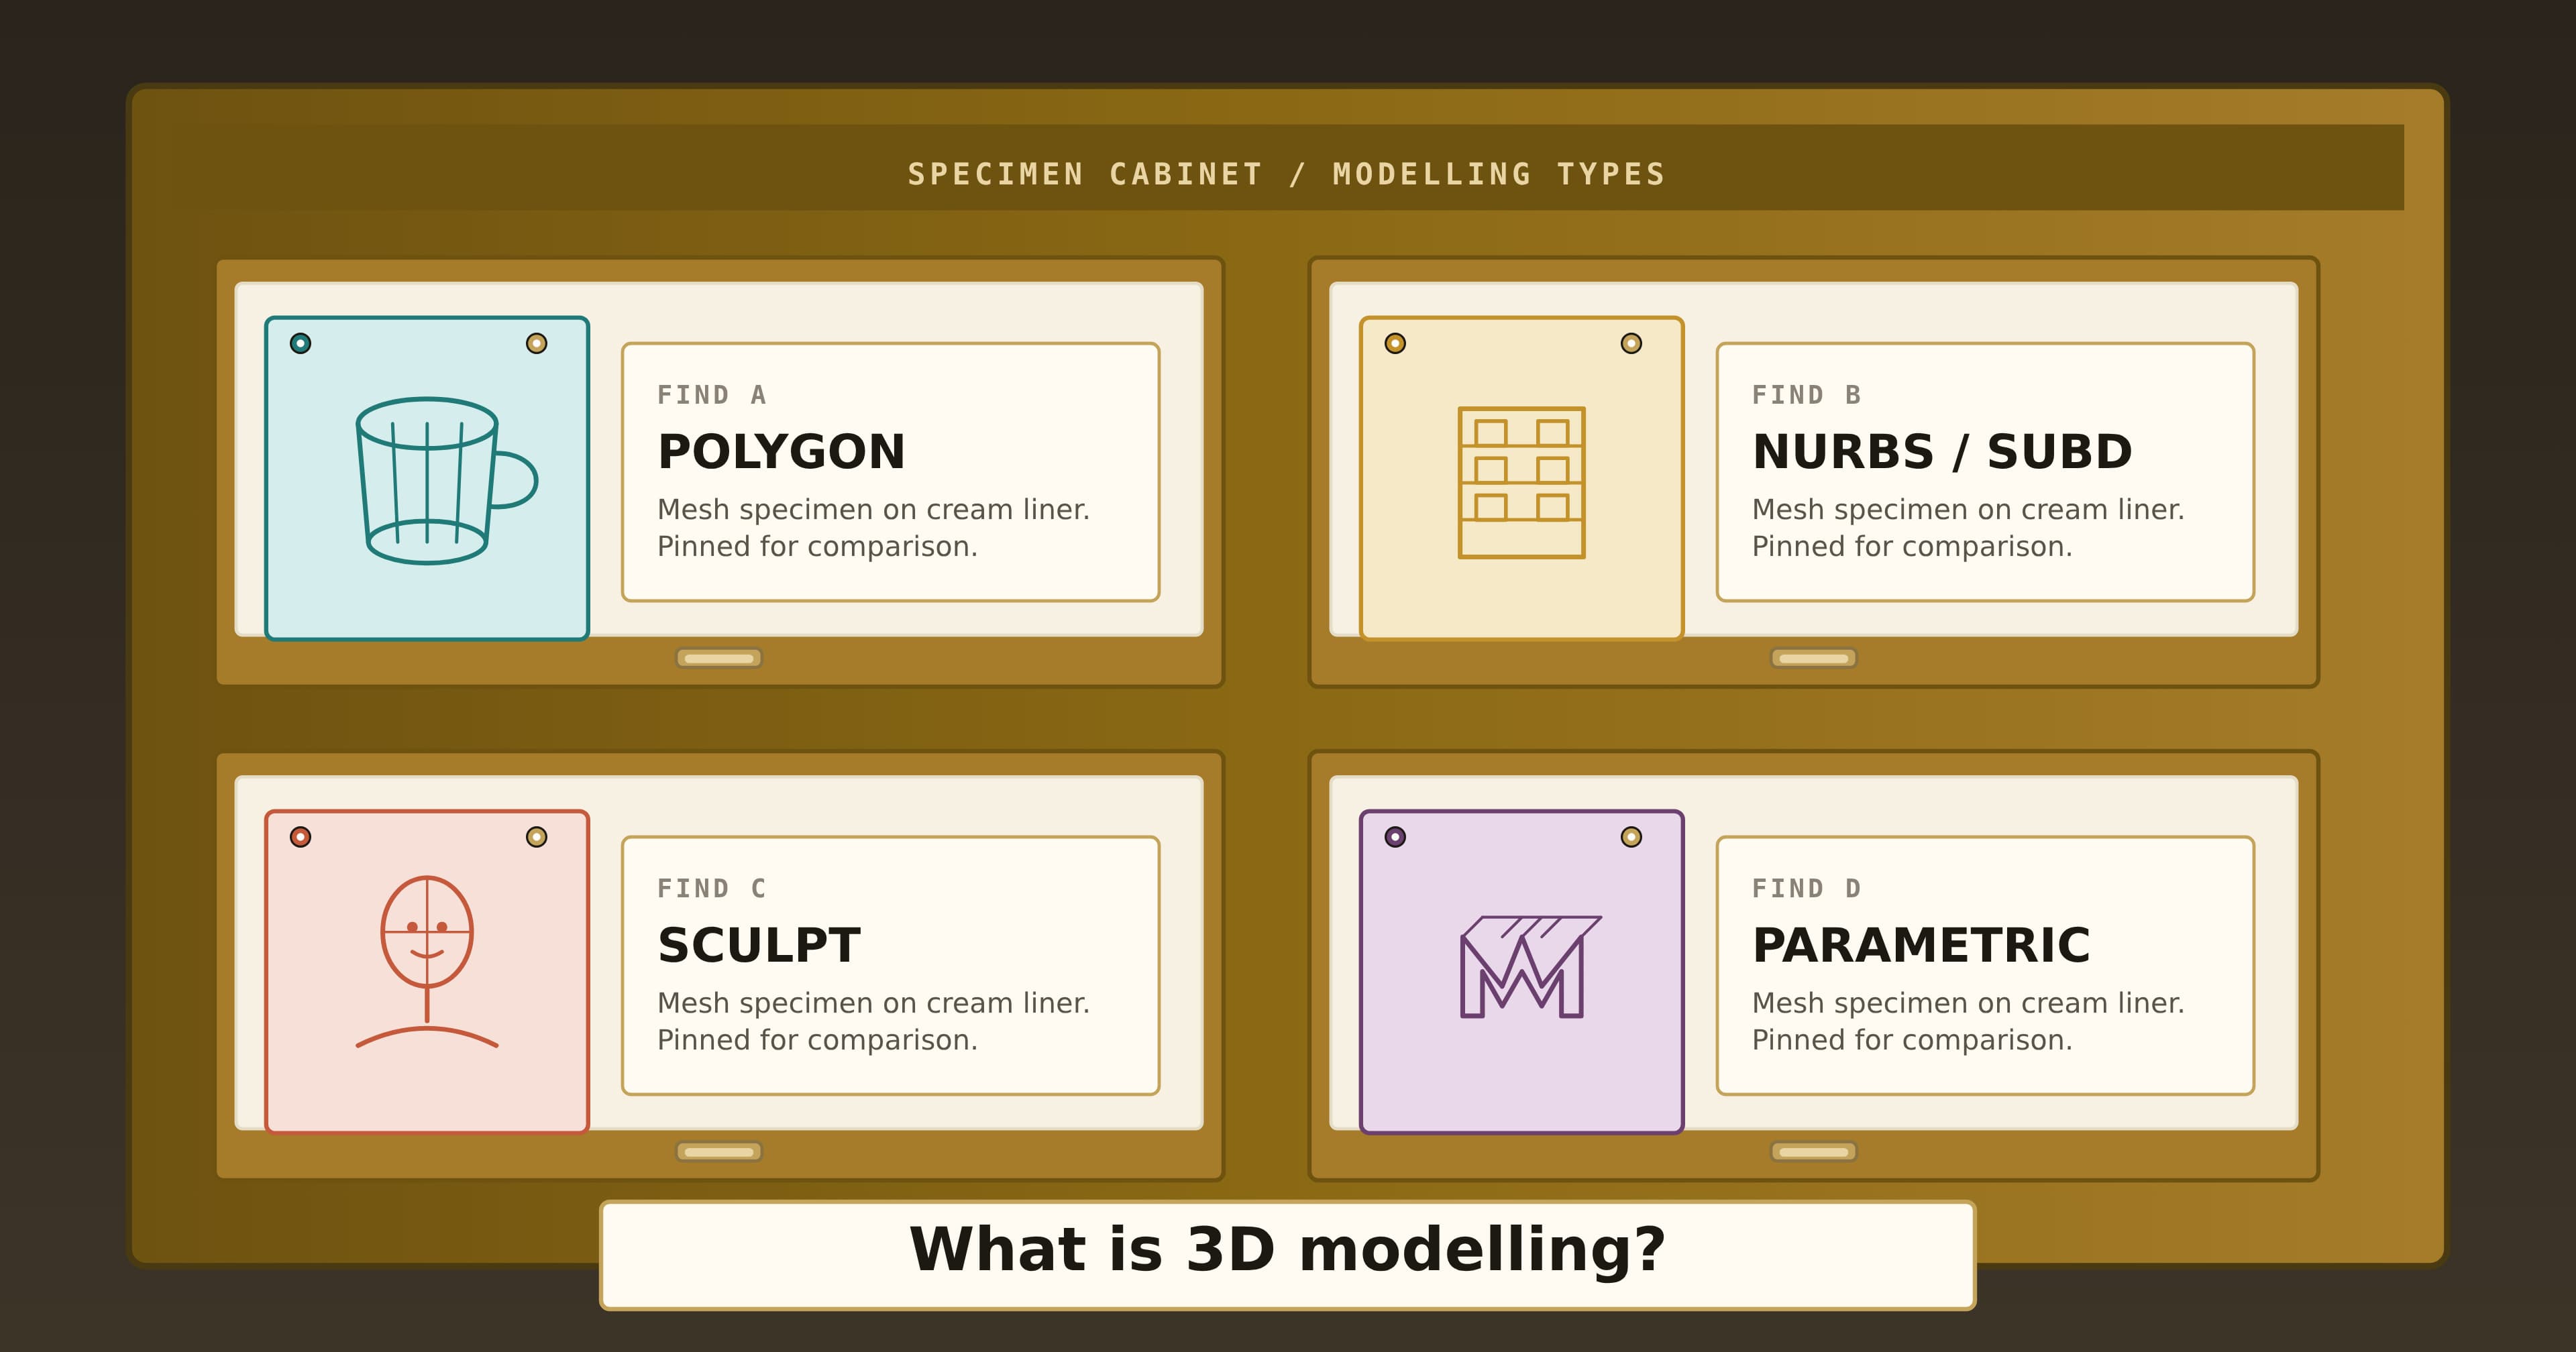
Most beginners ask which 3D software to learn. The better first question is which kind of model you need. A mug for a product still, a character for a short film, a rear extension for a planning pack and a motion logo for a broadcast sting are all “3D modelling”, but they are built with different techniques and they live in different apps.
3D modelling is the craft of building a digital object with height, width and depth so you can turn it, light it, render it or send it to a machine. In this guide we cover the four modelling types you will meet first – polygon, NURBS and subdivision, digital sculpting, and parametric or BIM – then map each one to real jobs and to the software and courses that fit. We teach this daily in London as an Autodesk Authorised Training Centre and a Maxon Authorised Training Centre, so the paths below match what we actually put in front of students.
What is 3D modelling?
A 3D model is a description of a shape in space. The description might be a mesh of flat faces, a set of smooth mathematical curves, a dense sculpted surface or a stack of dimensioned features. Once the shape exists, the same file can drive a still image, an animation, a game engine, a drawing sheet or a 3D printer – which is why the word “modelling” covers so many trades.
You do not need every type. You need the type that matches the job in front of you, then enough software skill to finish that job cleanly. The rest of this post is a decision path, not a catalogue.
Same mug, four ways
Imagine a plain ceramic mug. Here is how four modelling types would build it, and what each one is good for. The trade-offs are our view from teaching these workflows.
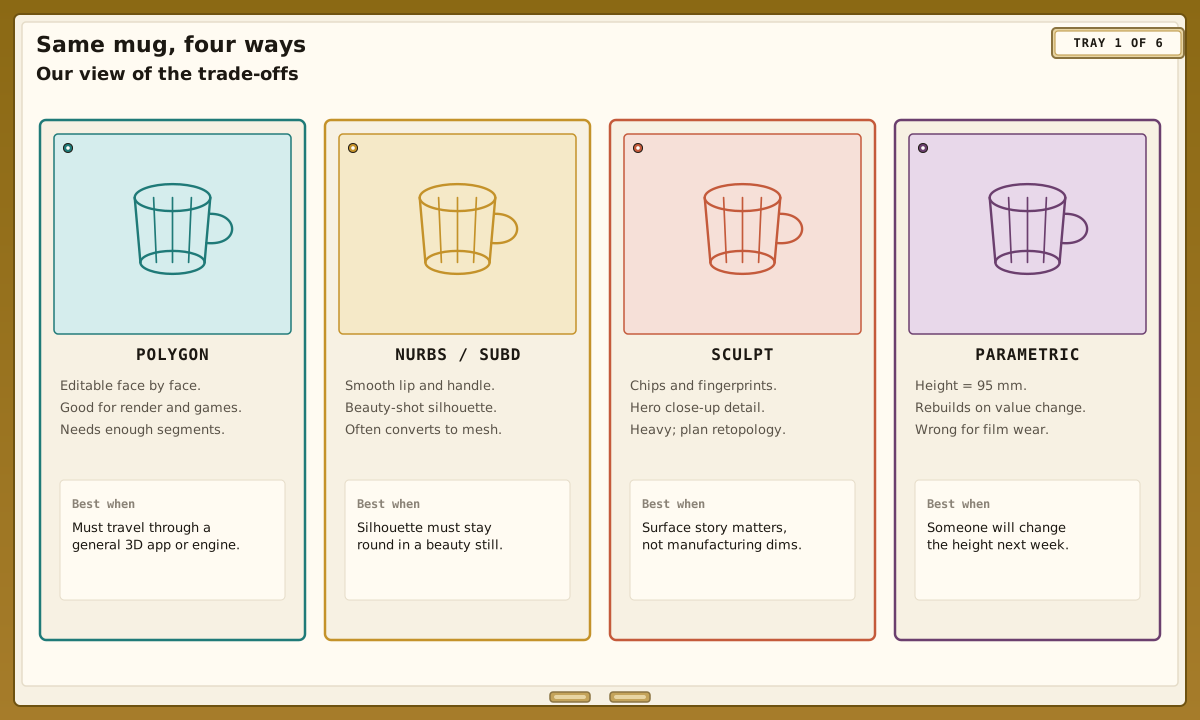
Polygon modelling. You start with a cylinder or a box and extrude, cut and bevel faces until the mug appears. You control every vertex. Ideal when the mug must render in a general-purpose app, sit in a game engine or deform later. Weakness: smooth curves need enough segments, or they look faceted.
NURBS and subdivision. NURBS describe the lip and handle as true curves; subdivision starts from a low-poly cage and rounds it. Both give a clean silhouette for product beauty shots. Weakness: NURBS often convert to polygons before a game or motion pipeline will take them, and a subdivided cage still needs tidy edge flow.
Digital sculpting. You brush chips, fingerprints and glaze variation onto a dense mesh as if it were clay. Ideal for hero close-ups and organic wear. Weakness: the file is heavy; animation and real-time work usually need a lighter retopologised mesh afterwards.
Parametric modelling. You sketch a profile, extrude the wall thickness, shell the inside and type “height = 95 mm”. Change the height and the whole mug rebuilds. Ideal when dimensions must stay exact for manufacture. Weakness: organic wear and film-style art direction are the wrong brief for this tool.
Same object. Four answers. Pick the answer that matches how the mug will be used, not the one with the prettiest splash page.
The four modelling types in plain language
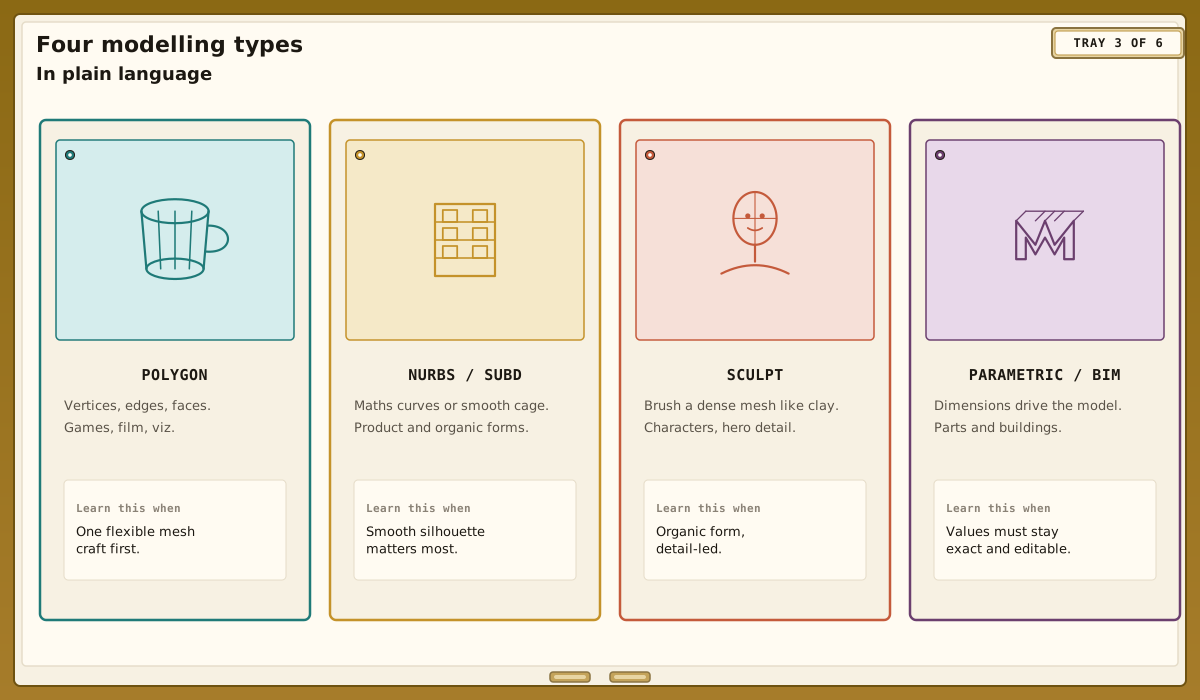
Polygon modelling builds a surface from vertices, edges and faces. It is the everyday mesh behind games, film assets, architectural visualisation and most motion graphics. If you only learn one type first, learn this. We go deeper on topology and edge flow in our post on the art of polygon modelling.
NURBS and subdivision surfaces keep curves smooth. NURBS are common in industrial and automotive design; subdivision cages are common in character and soft-surface work inside Blender, Cinema 4D and 3ds Max. Think of subdivision as polygon modelling with a smoother preview.
Digital sculpting pushes a dense mesh with brushes. It suits characters, creatures and detailed props. Blender’s sculpt tools cover a solid beginner path; specialist apps exist for high-end creature work. Plan for retopology if the sculpt has to animate or run in real time.
Parametric and BIM-style modelling stores dimensions and relationships. Change a wall length in Revit and the plans, sections and schedules update with it. AutoCAD stays the precise drafting foundation many practices still rely on before or beside a BIM model – we compare the two in AutoCAD vs Revit. For manufactured parts, the same parametric idea lives in mechanical CAD tools.
Match the job to the type, then to the software
This is the decision most listicles skip. Start from the deliverable.
Job | Modelling type | Software we would open first |
|---|---|---|
Product still or pack shot | Hard-surface polygon or NURBS, then light and render | Cinema 4D, 3ds Max or Blender |
Character or creature | Sculpt, then retopology to a clean mesh | Blender (sculpt + mesh) or a sculpt specialist |
Building, extension or interior | Parametric BIM, or drafted 2D into a 3D viz model | Revit for BIM; AutoCAD + 3ds Max for drawing-led viz |
Motion logo or broadcast pack | Polygon modelling plus clones and effectors | Cinema 4D (MoGraph on the Intermediate course) |
Game prop or environment piece | Clean low-poly mesh with tidy UVs | Blender or 3ds Max |
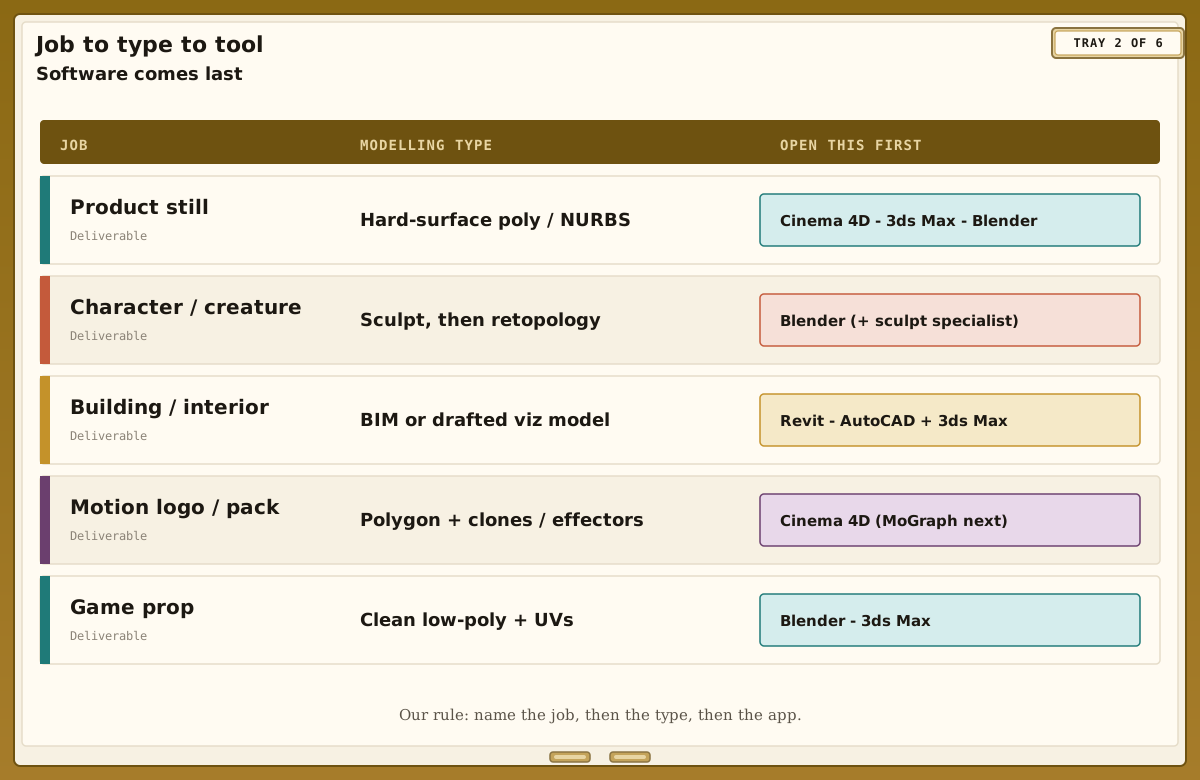
Notice the software column comes last. If you reverse the order – “I bought X, what should I make?” – you will fight the tool. Our short take on studio tools is in Cinema 4D vs 3ds Max and Is Blender good enough for professional work?; this post stays on the modelling choice upstream of that debate.
Where not to start
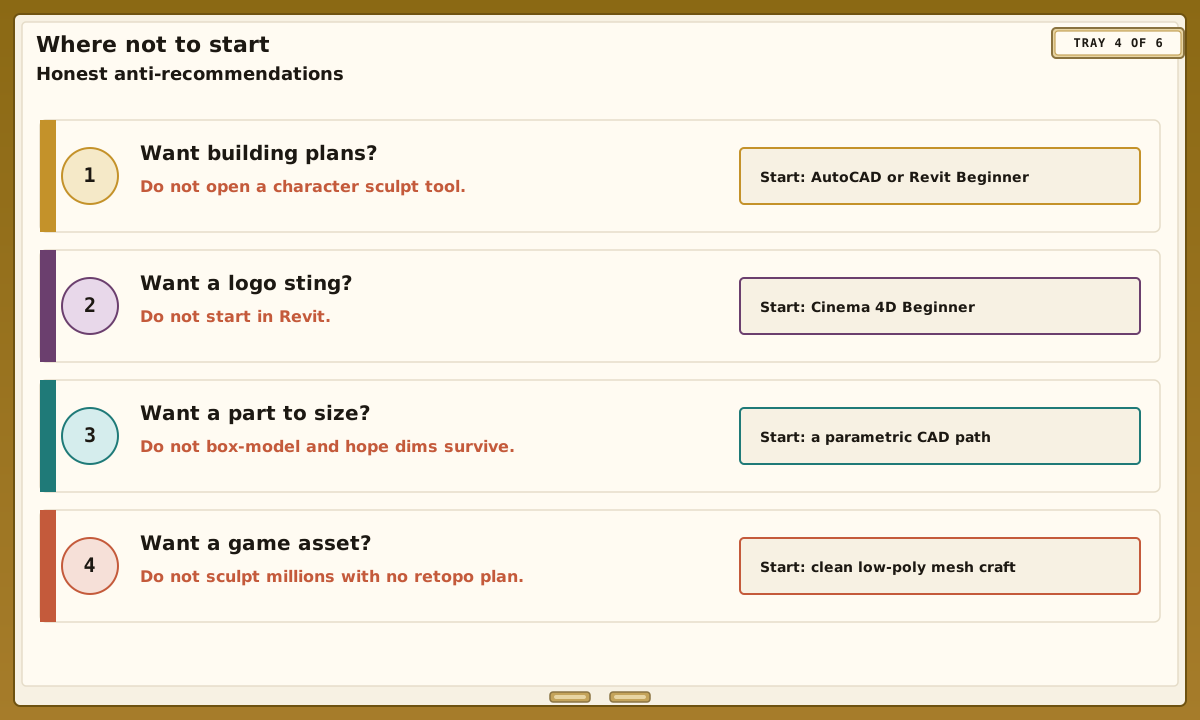
A few honest anti-recommendations from the training room:
If you want architectural drawings and schedules, do not begin on a character sculpt. Start with AutoCAD Beginner or Revit Beginner.
If you want a logo that flies apart for social video, do not begin in Revit. Start with Cinema 4D Beginner – Ozgur is a Maxon Master Trainer, and Docklands is a Maxon Authorised Training Centre.
If you need a part cut or printed to size, do not approximate it as loose polygon art and hope the dimensions survive. Use a parametric workflow.
If the asset must run in a game engine, do not sculpt millions of polygons with no retopology plan. Build a clean mesh, or sculpt then retopologise.
Wrong first tool is the most expensive beginner mistake we see. It costs weeks, not because the person is slow, but because they are practising the wrong craft.
Four starting paths (with a first project)
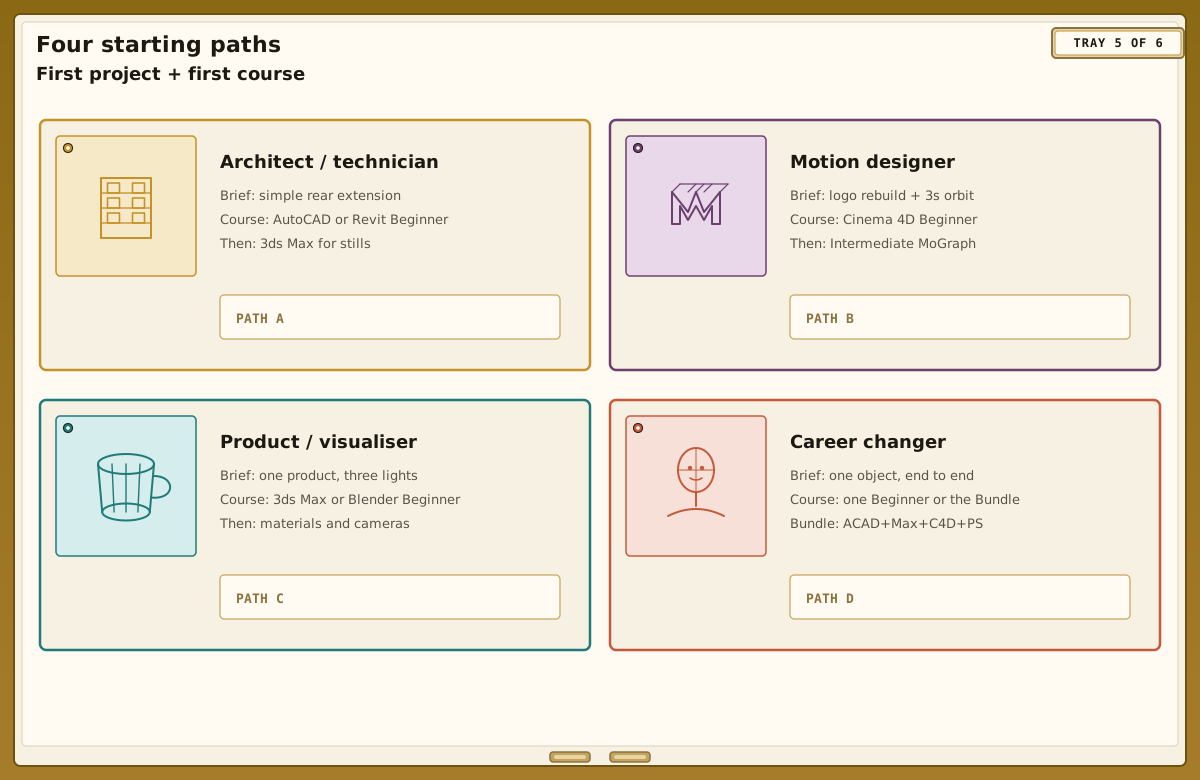
Architect or architectural technician. First project: a simple rear extension – walls, roof, a couple of windows, one sheet set. First course: AutoCAD Beginner (3 consecutive days) if your office is drawing-led, or Revit Beginner (3 consecutive days) if it is BIM-led. Add 3ds Max Beginner when you need stills or a walkthrough.
Motion designer or editor moving into 3D. First project: rebuild a client logo as extruded forms, light it, and render a three-second orbit. First course: Cinema 4D Beginner (2 consecutive days). MoGraph lands on the Intermediate course; we map the timeline in How long does it take to learn Cinema 4D? and the day-to-day uses in What is Cinema 4D used for?.
Product designer or visualiser. First project: one small product on a seamless surface, two materials, three-point light. First course: 3ds Max Beginner (3 consecutive days) or Blender Beginner (2 consecutive days), depending on the studios you want to join.
Career changer who wants a broad foundation. First project: pick one object you care about and finish it end to end – model, material, light, render. First step: a single beginner course above, or the 3D & CAD Beginner Bundle (AutoCAD 3 days + 3ds Max 3 days + Cinema 4D 2 days + Photoshop 2 days) if you want drafting, mesh modelling, motion-friendly 3D and presentation polish in one pass.
How we teach it at Docklands
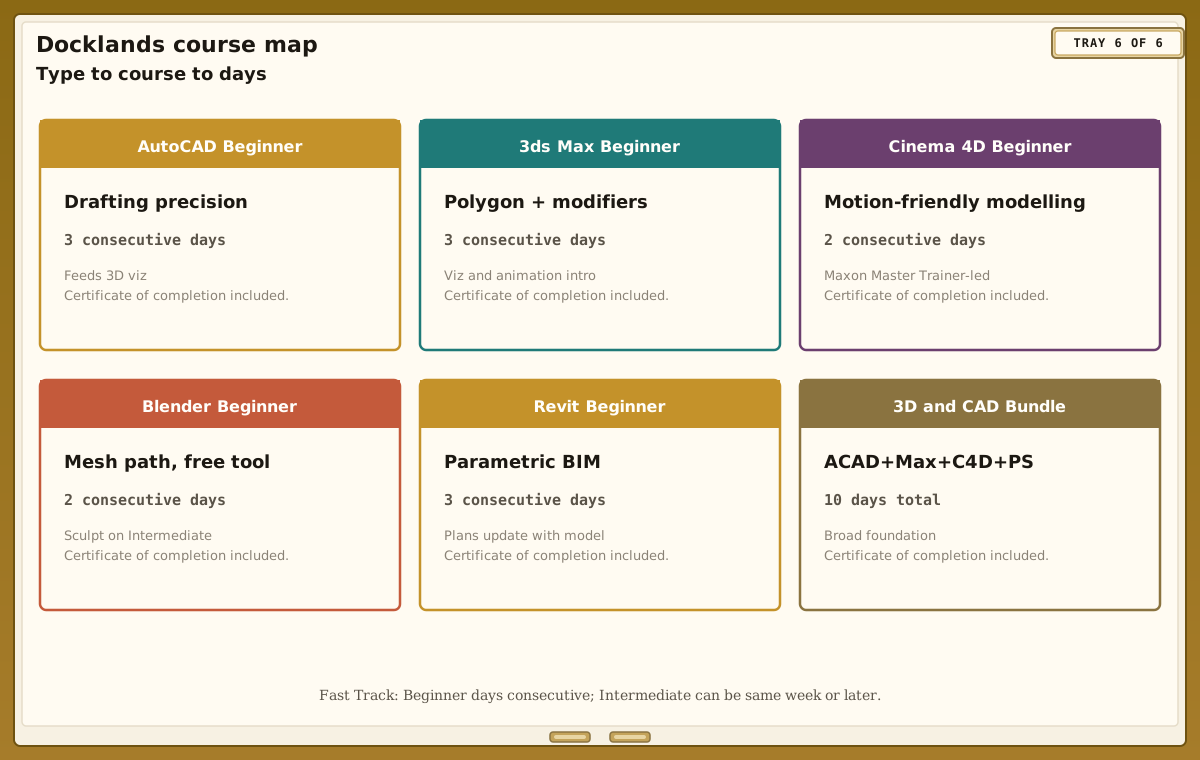
Docklands Media is authorised by Adobe, Autodesk, Maxon, Blackmagic Design and Certiport. On Autodesk tools we teach as an Autodesk Authorised Training Centre. On Cinema 4D, Ozgur is a Maxon Master Trainer and Docklands is a Maxon Authorised Training Centre.
Every course includes a certificate of completion. For AutoCAD and Revit, Fast Track routes prepare you to take and pass the Autodesk Certified User exam at the end of the course. Fast Track structure from our teaching: Beginner days stay consecutive; the Intermediate block is also consecutive days, and it can follow in the same week or a later week.
Useful next steps from here:
3ds Max Beginner or 3ds Max Fast Track Silver for polygon-led visualisation
Cinema 4D Beginner or Cinema 4D Fast Track Silver for motion-led 3D
Blender Beginner or Blender Fast Track Silver for a free-tool mesh path
AutoCAD Beginner or AutoCAD Fast Track Silver for drafting precision
3D & CAD Beginner Bundle when you want the broader foundation in one programme
Choose the modelling type that matches the job. Then choose the course that teaches that type with a finished project in your hands by the end of the week.