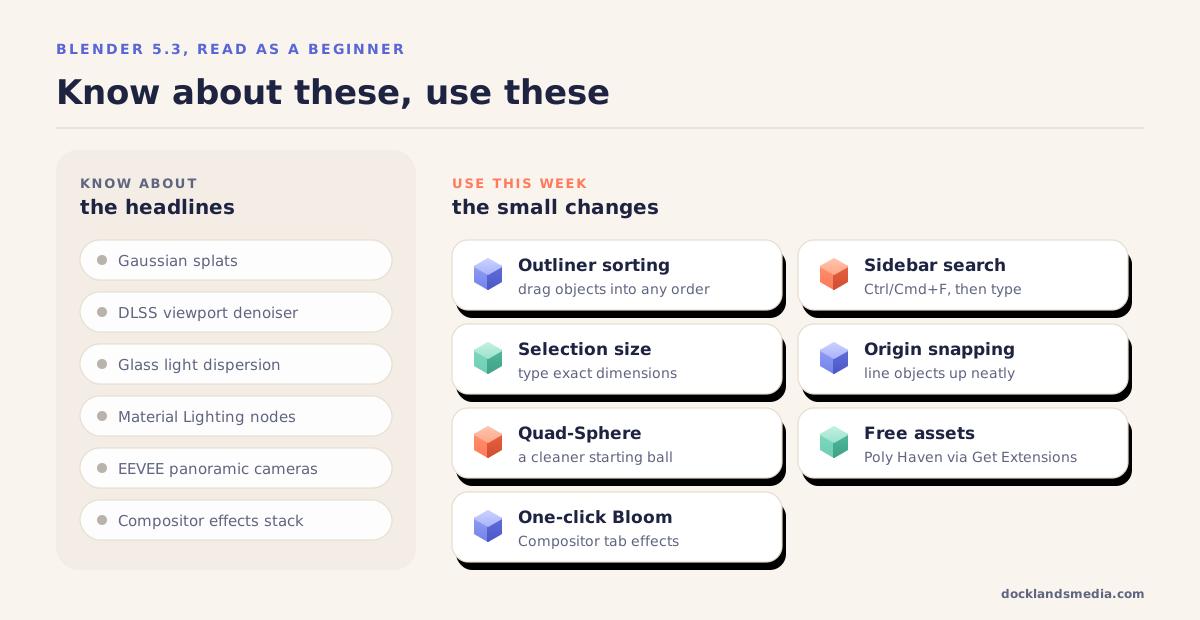
Blender 5.3 arrived with Gaussian splats, DLSS denoising in the viewport and glass that splits light into rainbows. If you are opening Blender for the first time, you need none of those this week. The change that will help you most is far smaller: you can now drag objects into any order you like in the Outliner, so your scene list finally matches the way you think about it.
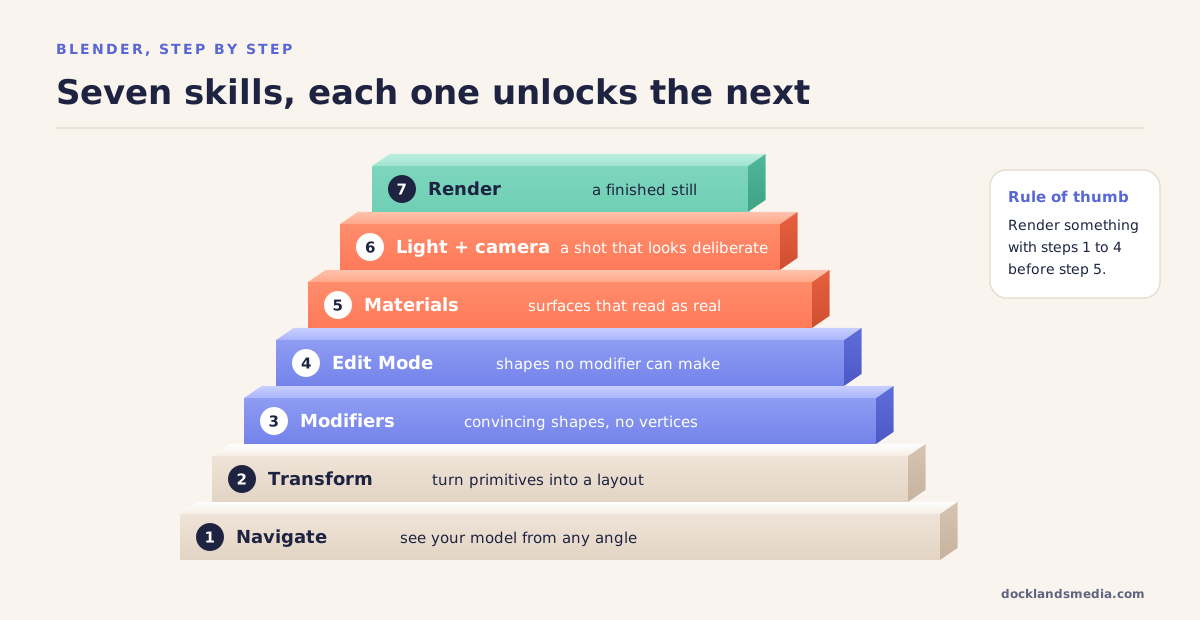
Blender for beginners comes down to seven skills, learned in this order: moving around the viewport, transforming objects, building shapes with modifiers, editing meshes, adding materials, lighting and framing a camera shot, and rendering. Get those working together on one small, finished scene and everything else in Blender, from sculpting to simulations, has somewhere to attach. It is also the order we teach on day one and day two of our Blender Beginner course.
The order we'd learn Blender in
Most roadmaps list topics. The useful question is what each step unlocks, because that is what keeps a beginner moving instead of stalling halfway through a tutorial.
Navigate. Orbit, pan and zoom until you stop thinking about it. Every other skill depends on seeing your model from the right angle.
Transform. G, R and S to move, rotate and scale, plus typing exact values. This turns primitives into a layout.
Modifiers. Bevel, Array, Mirror, Solidify and Boolean let you build convincing shapes without touching a single vertex.
Edit Mode. Press Tab and work with vertices, edges and faces: extrude, inset, loop cut. Now you can make shapes no modifier can.
Materials. One Principled BSDF shader covers most real surfaces. Learn base colour, roughness and metallic before anything fancy.
Light and camera. Three lights or an HDRI, a camera with a sensible focal length, and your model suddenly looks deliberate.
Render. Choose EEVEE for speed or Cycles for physically based light, set the output size and save a still.
Our rule of thumb: never learn step five until you have rendered something using steps one to four. A grey model with good light teaches more than a beautiful material on a model you cannot finish.
Blender 5.3 or 5.2 LTS: which should a beginner install?
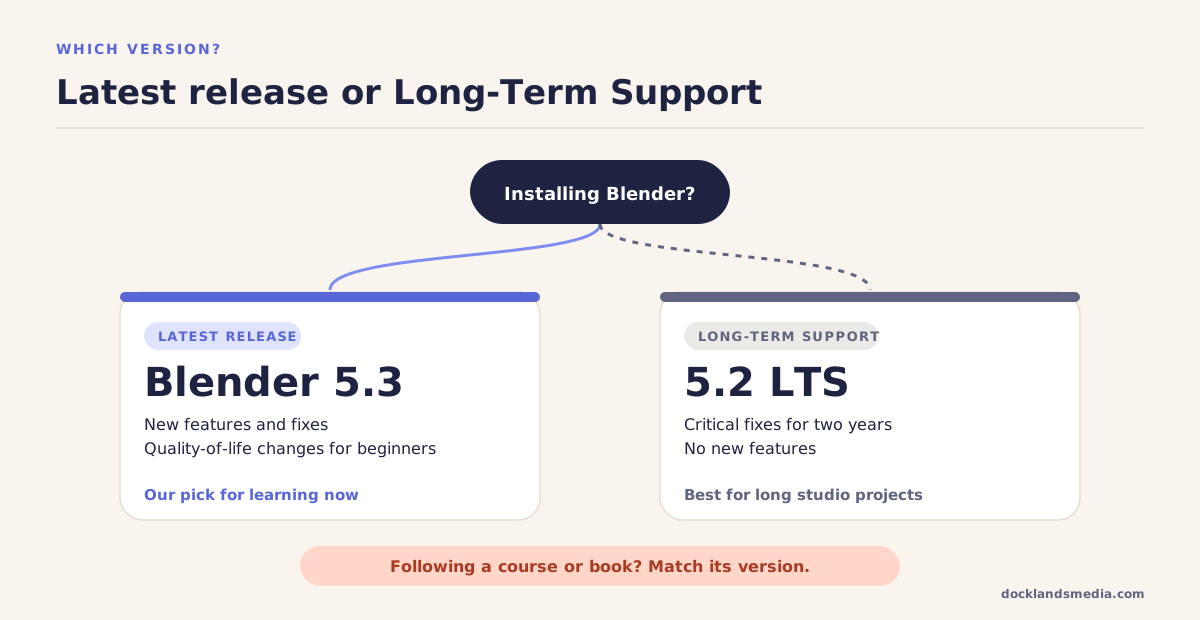
Blender ships two kinds of release. The latest version, currently 5.3, gets new features. The Long-Term Support version, currently 5.2 LTS, gets only critical fixes for two years and no new features. Studios with long projects like that stability.
For a beginner, we would install 5.3. Everything in the seven steps above works the same in both, and the newer version has the quality-of-life changes listed below. The exception: if you are following a course or book recorded in a particular version, match it. A mismatch of one or two versions rarely matters for the basics, but it matters a lot once you reach node-based features. Some learning roadmaps online still name an older version as the LTS, so check the number on the official download page yourself.
What's new in Blender 5.3 for beginners?
Release headlines are written for people who already know Blender. Read the same notes as a beginner and a different list stands out:
Outliner custom sorting. Objects stay where you drag them. Alphabetical order is one click away in the Outliner header if you prefer it.
Search in every sidebar. Hover over a sidebar, press Ctrl+F (Cmd+F on a Mac) and type. Alt+F (Option+F) clears it. This is a lifesaver when a tutorial names a setting you cannot find.
Selection dimensions in Edit Mode. The Transform panel now shows the size of what you have selected, and you can type a new size. Handy for anyone modelling real objects.
Snapping to object origins, a new snapping option that makes lining objects up easier.
A Quad-Sphere primitive, a cleaner starting ball for subdivision modelling and sculpting.
Free assets inside Blender. A selection of public domain Poly Haven assets can be installed from the Get Extensions tab, with no add-on to hunt down.
One-click Bloom and other effects such as Vignette and Film Grain, added from the Compositor tab of the Properties editor.
The headline features are worth knowing about, not learning first. DLSS denoising needs an NVIDIA graphics card, and Gaussian splats are usually captured from photos or video and imported, not modelled.
Following an older tutorial? What will look different
Free tutorials are a great supplement, and many of the best ones were recorded several versions ago. These are the differences that trip people up most often in our classroom:
The tutorial says | In Blender 5.3 |
|---|---|
Install the LoopTools add-on | Built in. Relax, Curve and Gstretch are now Relax Edge Loops, Curve Edge Loops Between Selected and Fit Edge Loops To Annotation. |
Tick Bloom in the EEVEE render settings | Add Bloom as an effect in the Compositor tab of the Properties editor. |
Set the view transform to Filmic | AgX has been the default for new files since Blender 4.0. Leave it unless you have a reason to change. |
Objects sort alphabetically in the Outliner | Custom order by default. Switch back from the Outliner header. |
Install add-ons from a downloaded zip | Most come from the Get Extensions tab in Preferences. |
One more: on Windows (except ARM) and Linux, Blender now draws with Vulkan by default. If your viewport looks wrong after updating, the backend can be switched in Preferences, System, Display Graphics. It needs a restart, and in our experience it is the first thing worth trying before reinstalling drivers.
Why start with modifiers, not Edit Mode?
Many tutorials open with vertex editing. We teach modifiers first, and our Beginner course outline reflects it: non-destructive modelling with the modifier stack, curves, bevels and Booleans come before the introduction to Edit Mode.
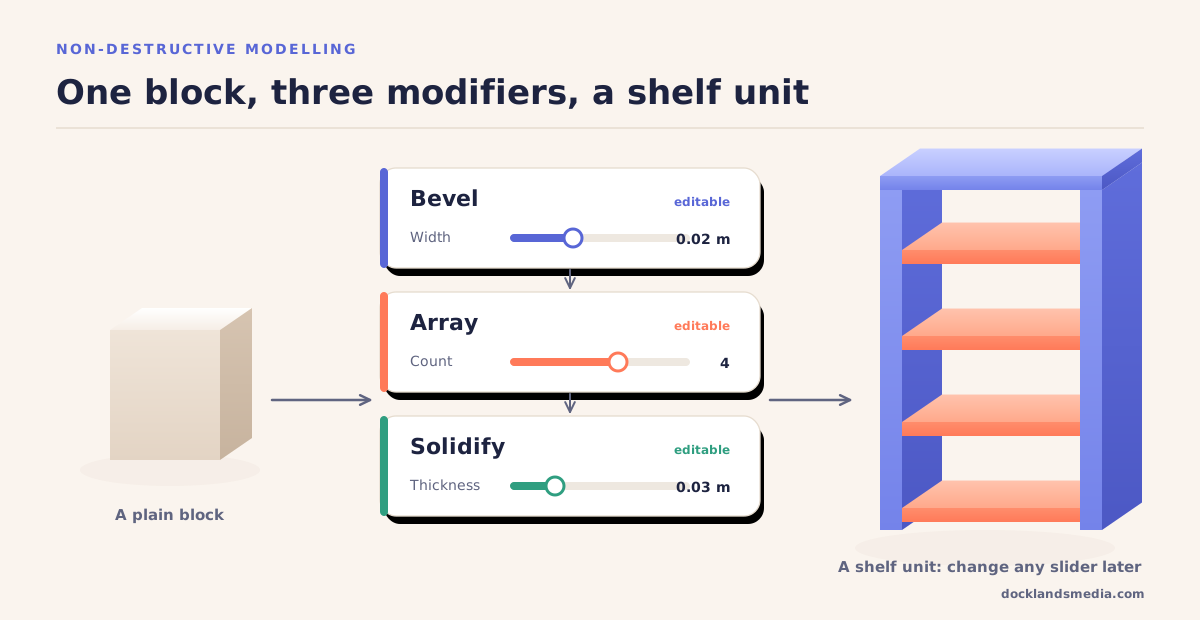
The reasoning is practical. A modifier stack is a recipe you can change at any time. Make a shelf from a cube, add Bevel, then Array to repeat it and Solidify to give it thickness, and you can change the number of shelves or the edge softness an hour later with one slider. Do the same work by hand in Edit Mode and every change means rebuilding. In our experience, beginners who learn the stack first make fewer dead-end files and finish more scenes, and finished scenes are what build skill.
Choose a first project that matches where you're heading
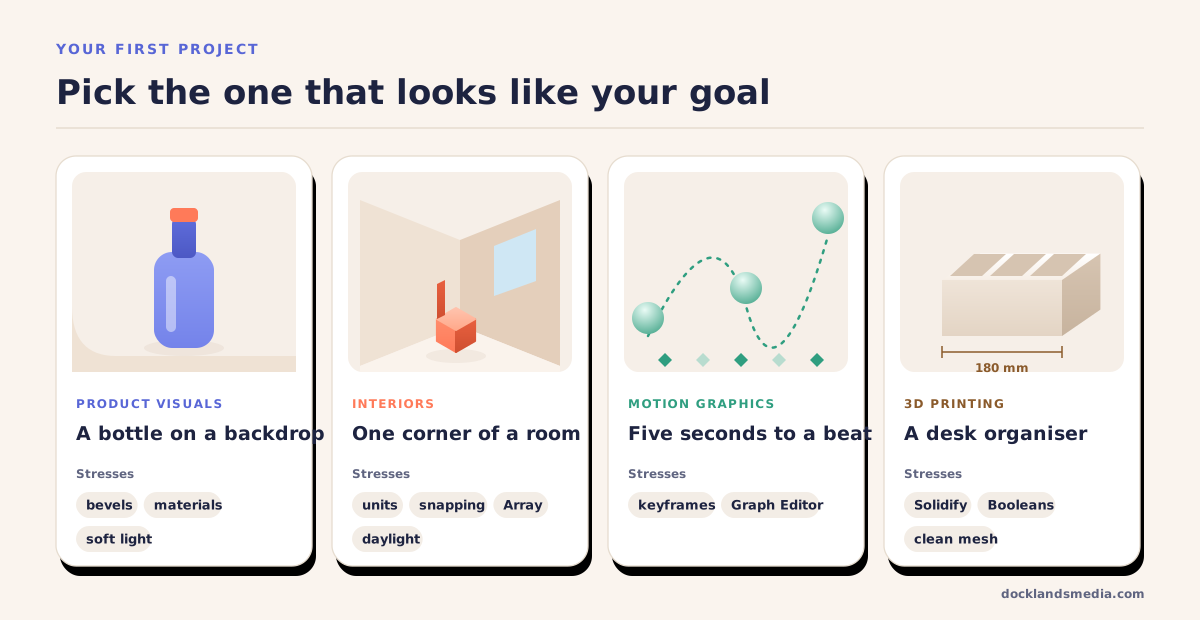
“Make a donut” is a famous first project for good reason, but the best first project is the one that looks like the work you want to do. Each of these uses the same seven skills with a different emphasis:
Product visuals: a bottle or headphones on a seamless backdrop. Emphasis on bevels, materials and soft studio light.
Interiors and architecture: one corner of a room at real dimensions. Emphasis on units, snapping, Array and daylight.
Motion graphics: five seconds of objects moving to a beat. Emphasis on keyframes and the Graph Editor.
3D printing: a desk organiser with exact measurements. Emphasis on Solidify, Booleans and clean, closed geometry.
Set yourself a limit: one object, one camera angle, one evening. If the brief is a room, model the chair. A small project you finish beats a big one you abandon.
What can wait until later
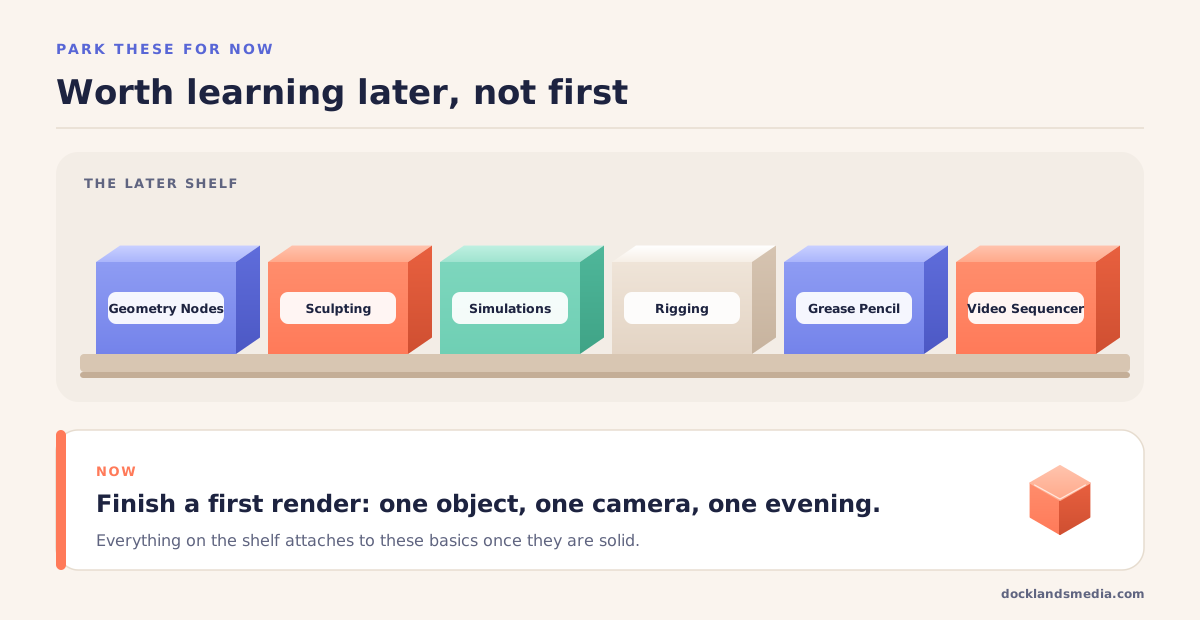
Blender does everything, which is exactly why beginners get lost in it. Park these until your first renders are finished: Geometry Nodes, sculpting beyond simple shaping, rigid body, cloth and fluid simulations, rigging, Grease Pencil drawing and the video sequencer. None of them is hard to start once the basics are solid, and all of them are frustrating without them.
That is also how our courses are split. Geometry Nodes, sculpting with Dyntopo, simulations and advanced Cycles and EEVEE lighting belong to our Blender Intermediate course, after the foundations. If video is your interest, our guide to video editing for beginners covers the editing vocabulary that the sequencer's new ripple editing tools assume.
Is there an official Blender certification?
Not in the way Adobe and Autodesk have one. There is no Blender equivalent of the Adobe Certified Professional or Autodesk Certified User exams. The Blender education team does publish a framework of badges for areas such as modelling, animation, sculpting and rendering, which schools can use to describe what a student has learned.
So what proves you can use Blender? Finished work. A handful of complete renders, each showing clean modelling, believable materials and considered light, says more than any badge. A course adds structure and evidence: every Docklands Media course includes a certificate of completion.
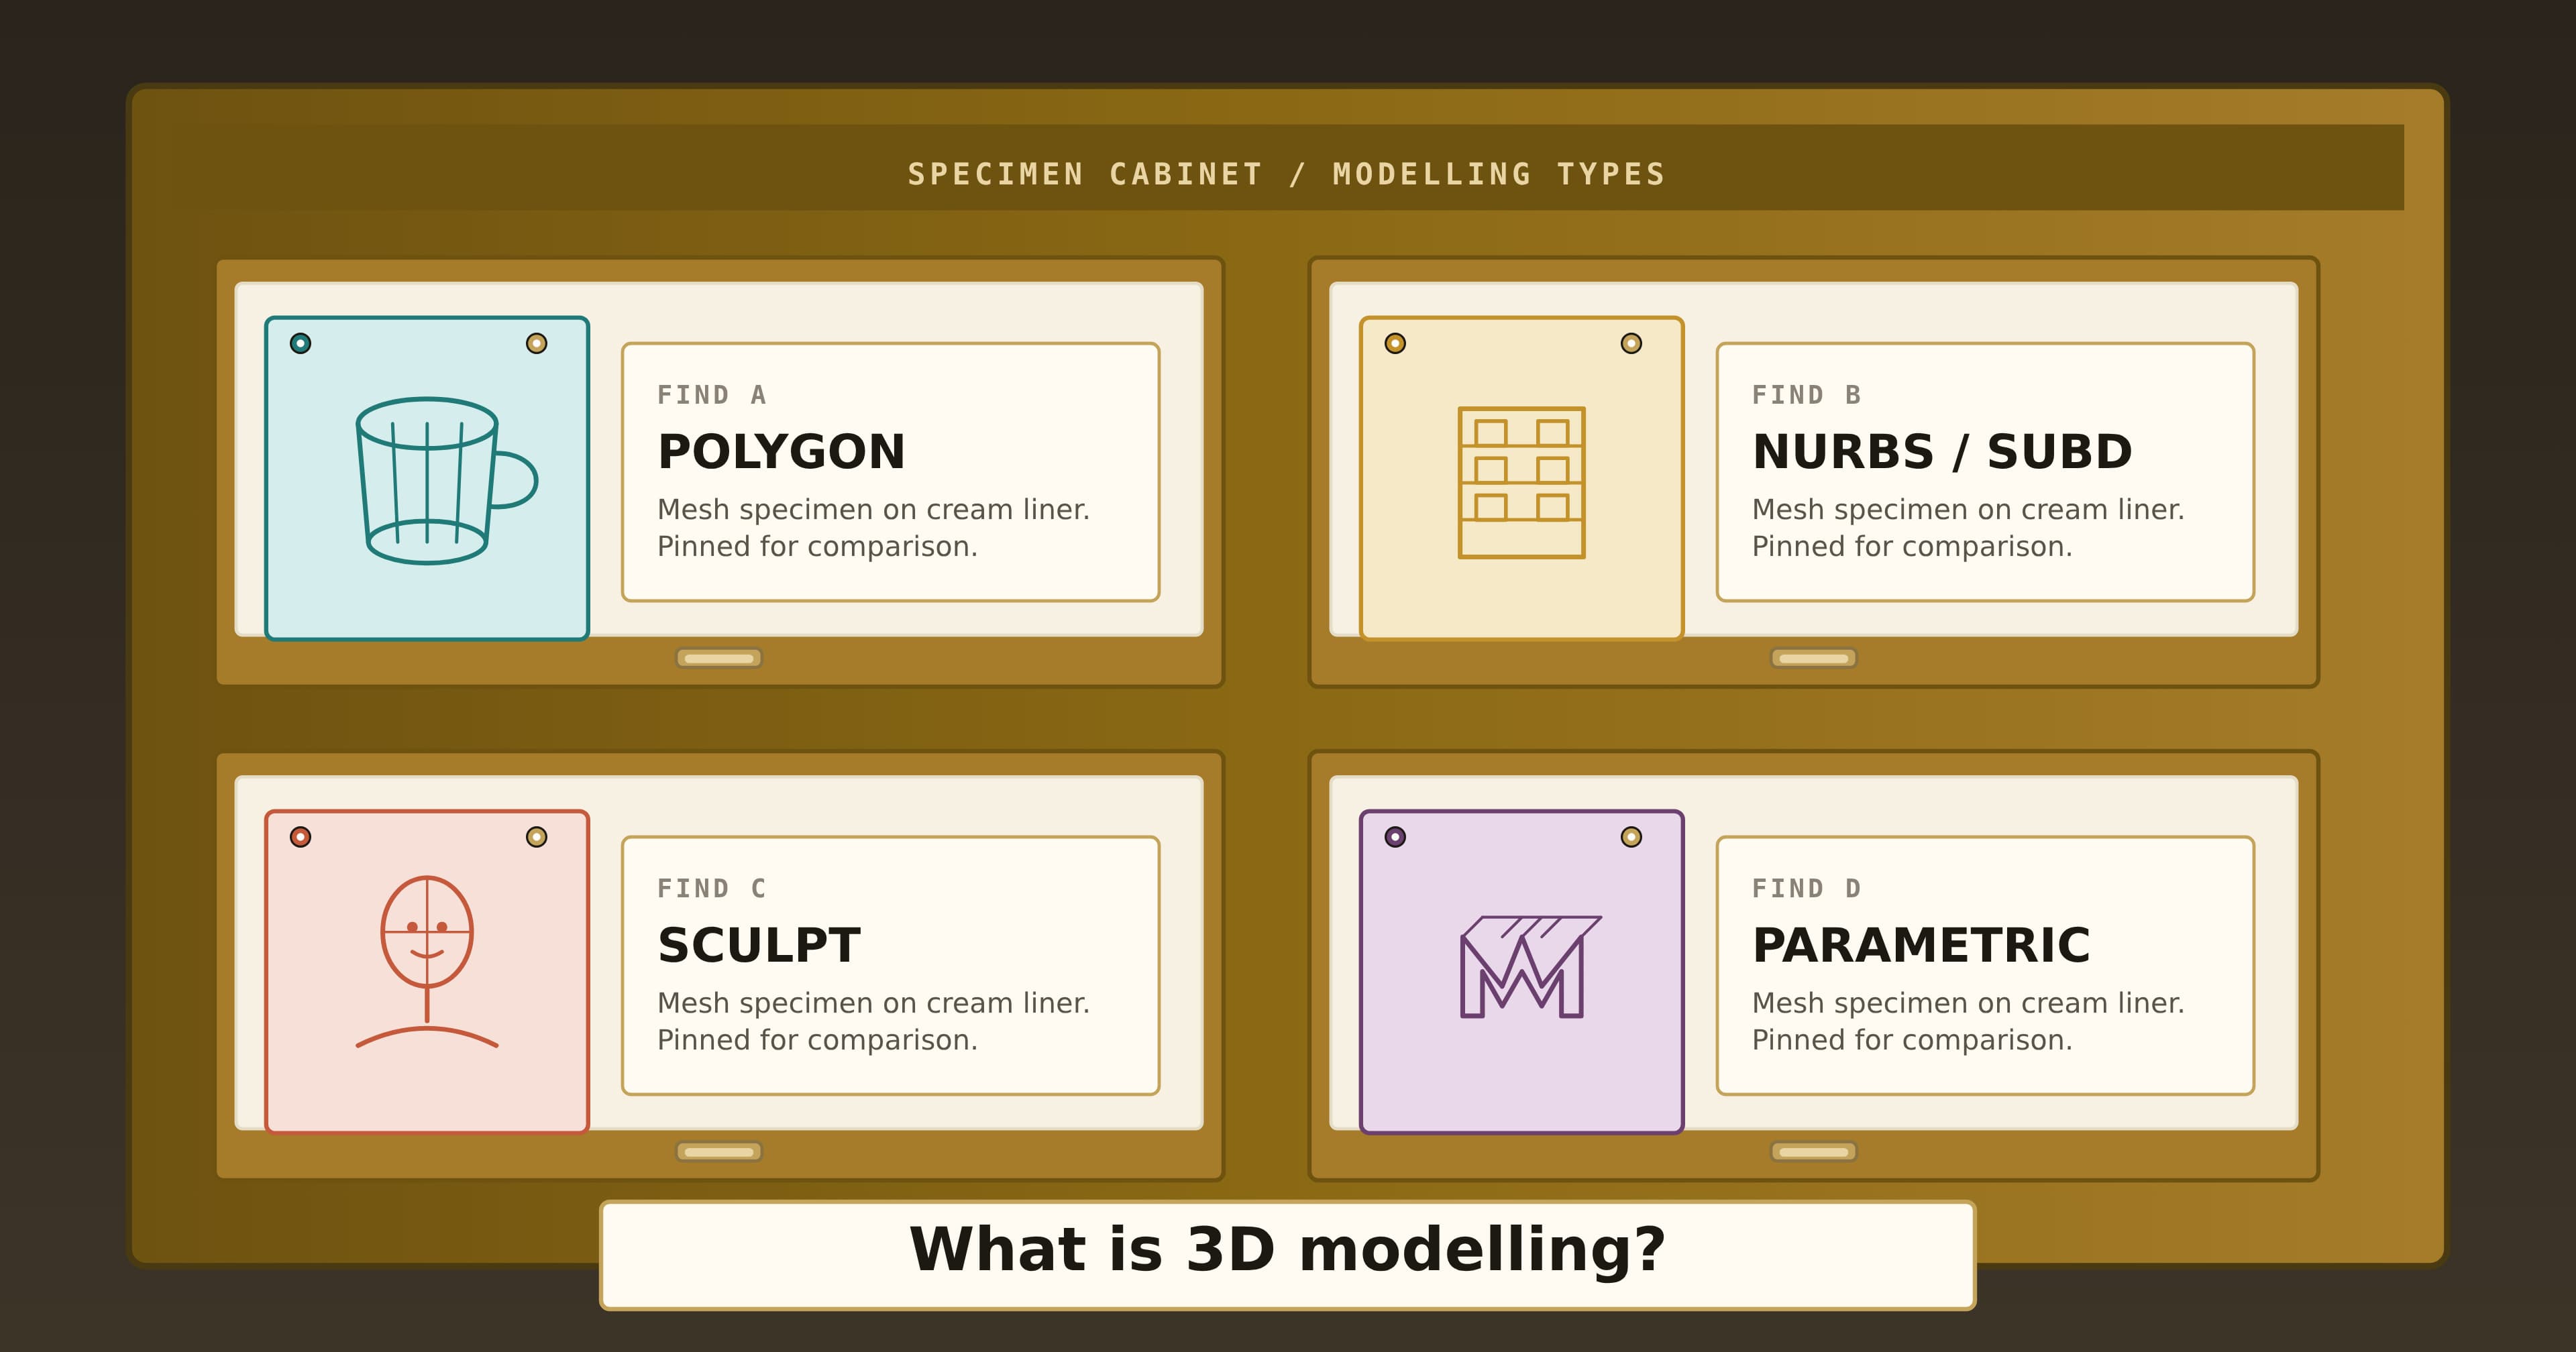
If you are weighing up whether Blender is the right tool for paid work at all, our article on whether Blender is good enough for professional work looks at where it fits in real pipelines, and what is 3D modelling? compares the main ways of building models.
Learning Blender with Docklands Media
Our two-day Blender Beginner course covers the interface, Outliner and project set-up, modifier-based modelling and Edit Mode, materials and UVs, cameras, lighting, a first animation and rendering in Cycles and EEVEE. You can join us at our London studios or live online, in small groups, and every course comes with a certificate of completion, a free retake within 24 months and seven days of access to recordings.
To go further in one block, the five-day Blender Fast Track Silver combines Beginner and Intermediate. The two Beginner days run back to back, and the three Intermediate days can follow in the same week or a later one. If your dates do not fit, we can arrange tailored Blender training around your own projects.
Docklands Media is authorised by Adobe, Autodesk, Maxon, Blackmagic Design and Certiport, and we teach Blender alongside Cinema 4D and 3ds Max, so we are happy to help you decide which 3D tool suits the work you want to do.